Golf carts rely on powerful batteries to provide consistent performance and smooth operation. Over time, however, these batteries can weaken or fail altogether, affecting acceleration, range, and reliability. Knowing how to test golf cart batteries with a multimeter helps you diagnose problems early and keep your cart in top condition. By learning how to use a multimeter properly, you can determine the health of each battery, prevent breakdowns, and avoid unnecessary replacements.

Why Testing Golf Cart Batteries Matters
Testing golf cart batteries is essential for identifying issues before they become expensive repairs. Batteries degrade naturally with use, and even a single weak cell can affect the performance of the entire battery pack. Early testing allows you to catch low voltage readings or poor connections that reduce efficiency. Regular checks also help you maintain consistent power delivery and ensure your golf cart performs as expected during daily use or long rounds.
Recognizing Symptoms of Weak Batteries
Before using a multimeter, it helps to understand the common signs that indicate a battery may need testing. Slow acceleration, dim headlights, or reduced range between charges are early warning signs of voltage loss. If your golf cart struggles to climb small inclines or takes longer to reach full charge, weak batteries could be the cause. Other symptoms include corroded terminals, uneven charging, or noticeable drops in performance after short use. By noticing these signs early, you can test the batteries and take corrective action before they fail completely.
Safety Precautions Before Testing
Testing golf cart batteries involves working with electrical power, so safety must always come first. Wear protective gloves and safety glasses to prevent acid exposure or accidental shocks. Make sure your cart is turned off and the key removed before starting. Work in a well-ventilated area to avoid inhaling fumes that may come from lead-acid batteries. Check for leaks or cracks before touching the terminals, and always use insulated tools. Avoid resting metal objects on top of the batteries to prevent short circuits or sparks.

Understanding How a Multimeter Works
A multimeter is a versatile diagnostic tool that measures voltage, resistance, and current. For golf cart batteries, you will primarily use it to measure voltage. Set your multimeter to DC voltage, since golf cart batteries produce direct current. Most digital multimeters display readings clearly, but if you need a quick guide to multimeter basics, the Wikipedia article on multimeters provides useful background information.
Step 1: Prepare the Multimeter and Battery
To start testing, ensure your golf cart is turned off and the charger disconnected. Set your multimeter’s dial to DC volts (indicated by a “V” with a straight line). Choose a voltage range higher than the battery’s rating. For example, if you have a 12-volt battery, select a setting that can read up to 20 volts. If you are testing 6-volt or 8-volt batteries, the same principle applies—select a slightly higher range to capture accurate readings.
Step 2: Connect the Multimeter Leads
Place the red probe on the positive (+) terminal and the black probe on the negative (–) terminal of the battery. Hold the probes steady to ensure a proper connection. Your multimeter will immediately display a voltage reading. A fully charged 6-volt battery should read about 6.3 volts, an 8-volt battery should read about 8.4 volts, and a 12-volt battery should read about 12.6 volts. If readings fall significantly below these values, the battery may be undercharged or nearing the end of its life.

Step 3: Test Each Battery in the Pack
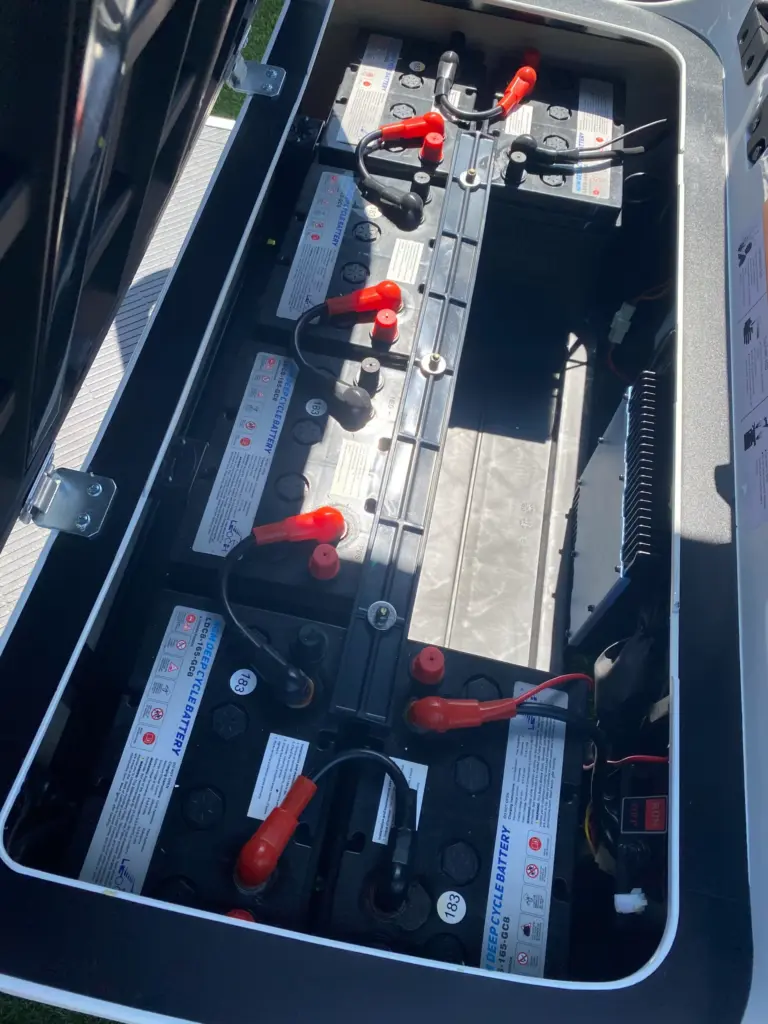
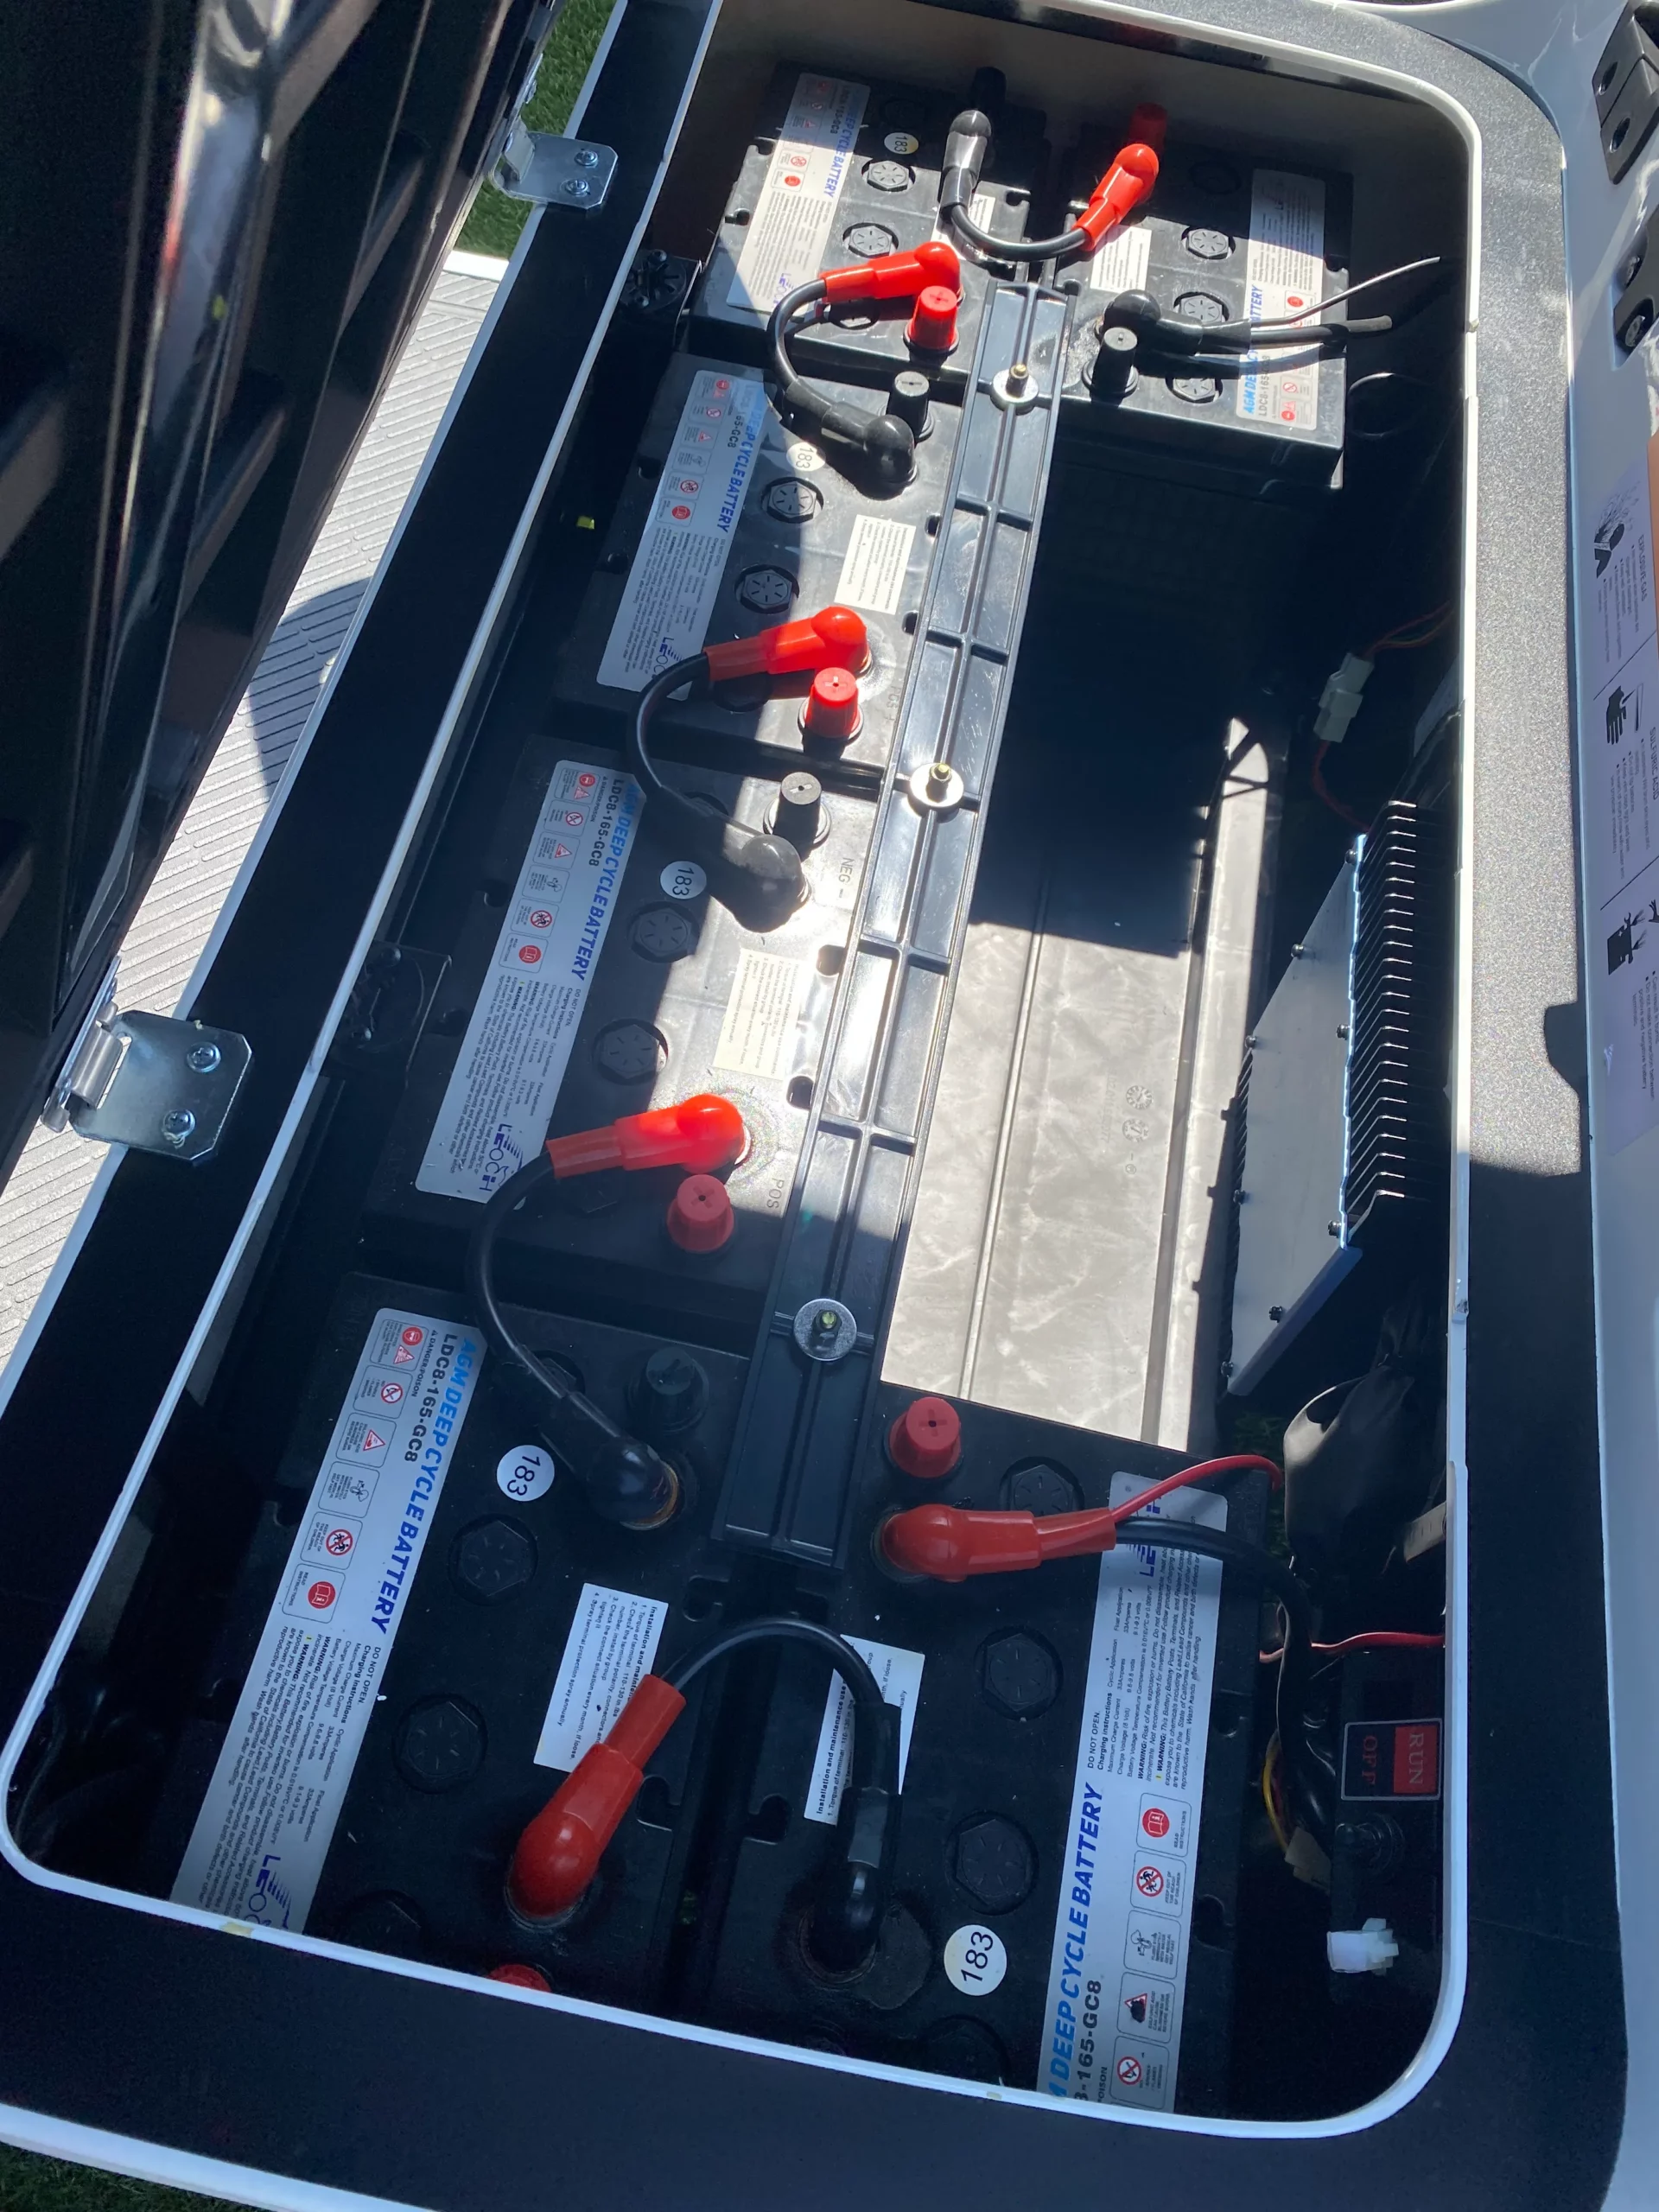
Golf carts usually operate with a series of connected batteries forming a total system voltage (often 36, 48, or 72 volts). Testing one battery is not enough—you must test each individually to identify weak links. Move systematically through the pack, recording the voltage for every battery. If one battery reads lower than the rest, it can pull down the entire system, even if the others are healthy. Replacing or recharging the weak unit restores balance and efficiency to the overall pack.
Step 4: Interpreting the Readings
After testing, compare your readings against standard voltage charts. A fully charged battery that reads significantly below its normal voltage may be sulfated or damaged internally. If the voltage drops rapidly under load (for example, when accelerating), the battery’s capacity is declining. When several batteries show different readings, check for poor cable connections or corrosion, as these can cause inaccurate readings or performance issues. Clean terminals and re-test if results appear inconsistent.
Step 5: Testing Under Load Conditions
Voltage readings at rest give valuable data, but load testing provides a clearer picture of battery health. To perform this, keep the multimeter connected while pressing the accelerator or turning on lights. If voltage drops sharply during this brief load, the battery may struggle to maintain charge. This method simulates real-world performance and helps confirm whether the battery still delivers sufficient power during normal operation.

What to Do if Voltage Is Low
If your test results show one or more low batteries, try recharging and retesting after a full charge cycle. Sometimes a deep discharge or improper storage can temporarily reduce voltage. However, if the same batteries consistently show poor readings, they may need replacement. Maintaining the rest of the pack’s balance is crucial; mixing new and old batteries in one set can cause uneven wear and shorten lifespan across all units.
Battery Maintenance Tips After Testing
Regular maintenance extends battery life and keeps your golf cart performing at its best. Clean terminals with a mixture of baking soda and water to prevent corrosion. Check water levels in lead-acid batteries regularly and top off with distilled water if needed. Keep cables tight and secure to ensure consistent voltage flow. Fully charge your cart after each use, and avoid storing it for long periods without charging. Proper care can add years to the lifespan of your battery set.
How Often to Test Golf Cart Batteries
Most experts recommend testing golf cart batteries every two to three months or whenever performance seems off. Frequent testing helps detect small issues before they become major failures. If you drive your golf cart daily, monthly checks are ideal. Occasional users can test quarterly. Consistency helps maintain optimal performance and gives you a better sense of how your batteries age over time.

When to Consider Battery Replacement
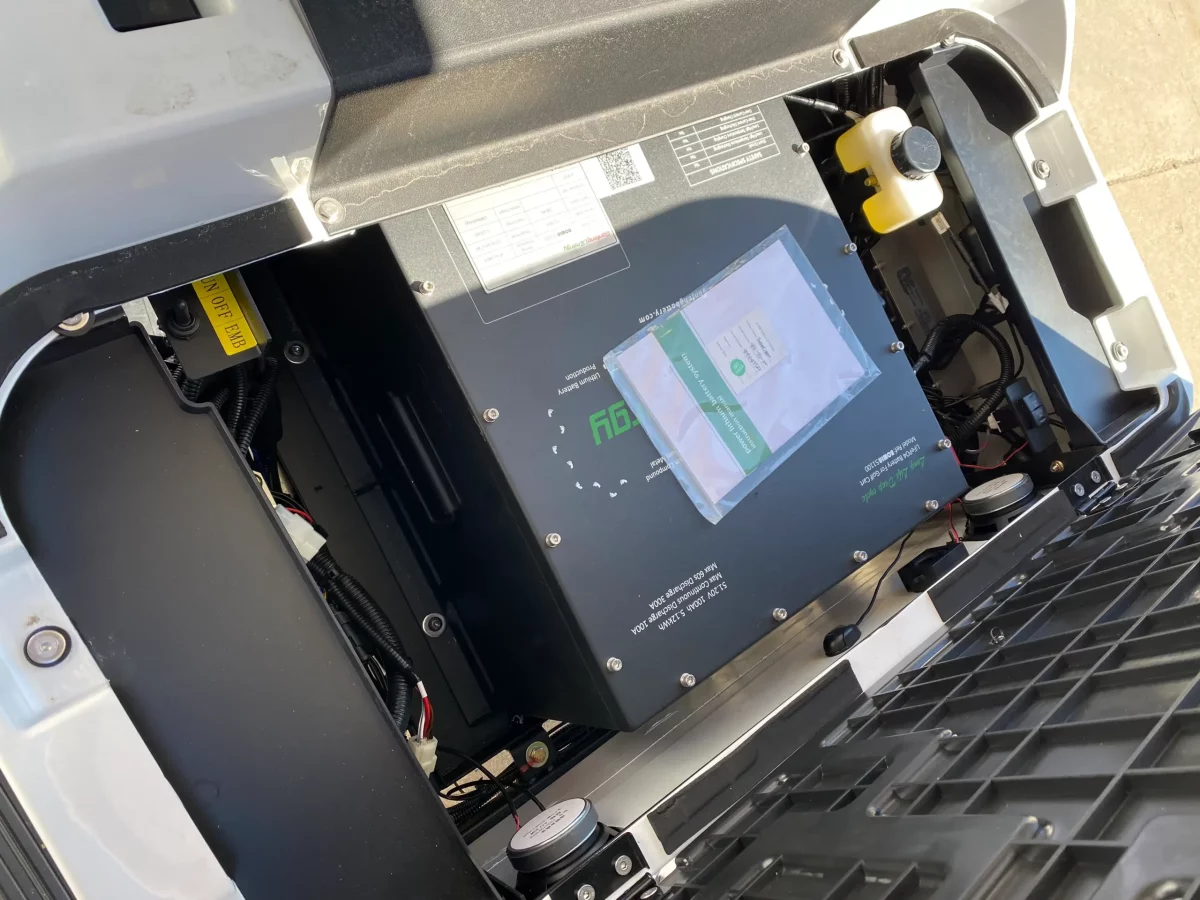
Even with good maintenance, golf cart batteries have a limited lifespan. Most lead-acid batteries last about four to six years depending on use and care. If you find yourself charging more frequently or losing power quickly, replacement may be necessary. When the time comes, explore options like the Evolution D-Max GT6, which offers reliable performance and energy-efficient technology. Upgrading to a modern electric model ensures fewer maintenance issues and improved power management.
Environmental and Efficiency Benefits
Proper battery care also supports environmental responsibility. Well-maintained batteries last longer, reducing waste and minimizing chemical disposal. Testing regularly means fewer unnecessary replacements and more efficient use of resources. For electric golf carts, efficiency goes hand in hand with sustainability. A healthy battery pack provides better mileage per charge, reducing energy consumption and long-term operating costs.
Common Mistakes to Avoid
Never test batteries immediately after charging, they can display inflated voltage readings that don’t reflect real capacity. Always allow them to rest for at least an hour before testing. Avoid touching both terminals at once, even with gloves. Mixing old and new batteries is another common mistake that shortens lifespan across the pack. Finally, don’t ignore low voltage warnings or corrosion, as small issues can quickly escalate into expensive replacements.

When to Seek Professional Help
While testing with a multimeter is simple, sometimes professional diagnostics are necessary. If your golf cart still struggles after testing and cleaning, the problem may involve the controller, wiring, or charger. In these cases, consulting a professional service center ensures accurate troubleshooting. Technicians have load testers and diagnostic software that can pinpoint issues beyond voltage readings. If you prefer guided assistance or need reliable servicing, you can contact Hartville Golf Carts for support.
Conclusion
Testing your golf cart batteries with a multimeter helps you understand how your cart performs and ensures reliable power for every ride. Once you know the condition of your batteries, you can make informed decisions about upgrading or replacing your golf cart altogether. If you are ready to experience modern performance, comfort, and style, explore the latest selection of electric and gas models available at Hartville Golf Carts. Our expert team will help you find the perfect cart to match your lifestyle and driving needs.


