Testing golf cart batteries helps keep your vehicle in good shape. A regular check lets you find problems early or deal with basic upkeep. You need to know the test steps and spot battery problems that affect the cart’s operation. Battery tests tell you about the condition of each unit. A mechanic can give you exact details of how well your batteries work. The next sections explain how to test your batteries and ways to extend their life span. You’ll learn basic tasks to keep the batteries in the best condition.
The steps remain simple to follow and give direct results about your cart’s power system. Each test provides details that matter for your cart’s daily use. A proper battery check makes a difference in how long your cart stays on course. Let’s go over how to test golf cart batteries.

Pre-Testing Checklist
Here is a list of steps to take before you test your batteries:
- Get the right tools: A digital multimeter or DMM stands as your main tool. You also need a load tester or a hydrometer to check the battery.
- Stay safe: Put on protective gloves along with eyewear to avoid contact with battery acid or other problems.
- Turn off the cart: Take out the key from your golf cart to prevent any unexpected starts as you test.
- Look at connections: The battery’s connections must be clean or tight. Bad connections affect how well you can test.
- Read the manual: Know your cart’s power system plus battery details. A good grasp of these helps you understand test results.
- Get full power: Your batteries need a full charge before tests start. Tests on low batteries show wrong numbers.
- Pick a good spot: Test in an area with fresh air away from items that catch fire. The space needs to let you work with batteries in a safe way.
Follow these steps to prepare for a safe or accurate battery test.
How to Test Golf Cart Batteries with a Multimeter
Testing your golf cart batteries with a multimeter is a simple way to check charge or health. Follow these steps for an exact test:
- Turn off the golf cart: Switch off your cart before you test the batteries to prevent electrical issues.
- Set the multimeter to DC voltage: Put your multimeter on DC voltage (direct current). DC matches your golf cart batteries and leads to exact readings.
- Test the voltage across each battery: Touch the multimeter’s red lead to the positive terminal next to the black lead on the negative terminal of each battery. Read the voltage on the multimeter. A good 6V battery shows about 6.3V to 6.4V or a 12V battery shows about 12.6V to 12.8V. Lower readings mean the battery needs a charge or replacement. The voltage needs tests during charge cycles for exact results.
- Check the voltage of the full battery bank: For a 36V or 48V golf cart test total voltage by linking the multimeter to first as well as last battery terminals in series. A 36V system reads near 38V or a 48V system reads near 50V.
- Compare readings: After you test all batteries in your cart, look at the readings side by side. A battery with much lower numbers points to failure and needs replacement.
- Test at full charge: Let batteries reach full charge before tests. A smart charger stops once batteries reach full charge, which leads to exact voltage readings and longer battery life.
For more information, check out our complete guide on how to test a golf cart battery with a multimeter. It goes over even more details on how to do this with complete ease so you can be on your way sooner rather than later.

Understand what type of battery is in your golf cart
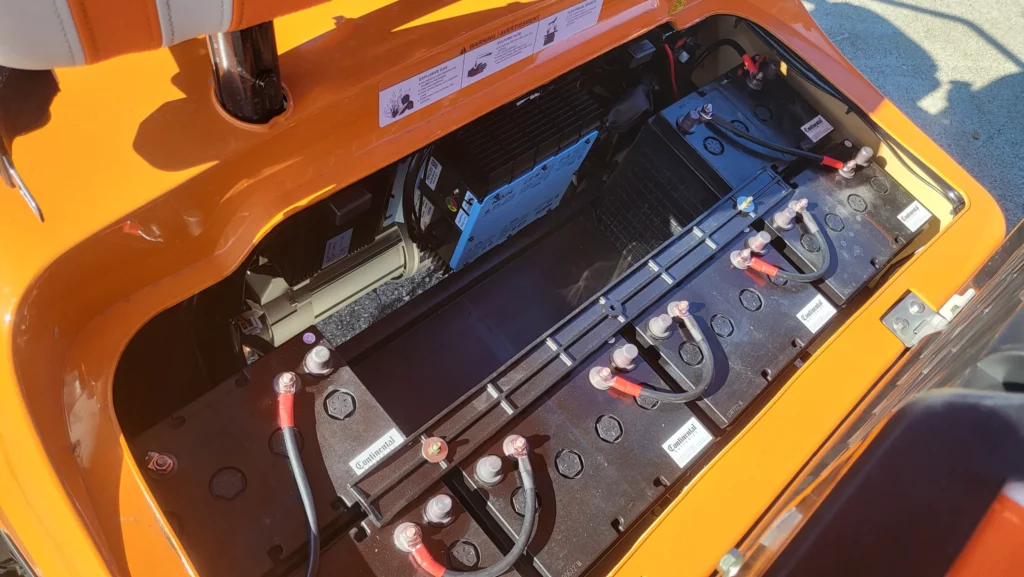
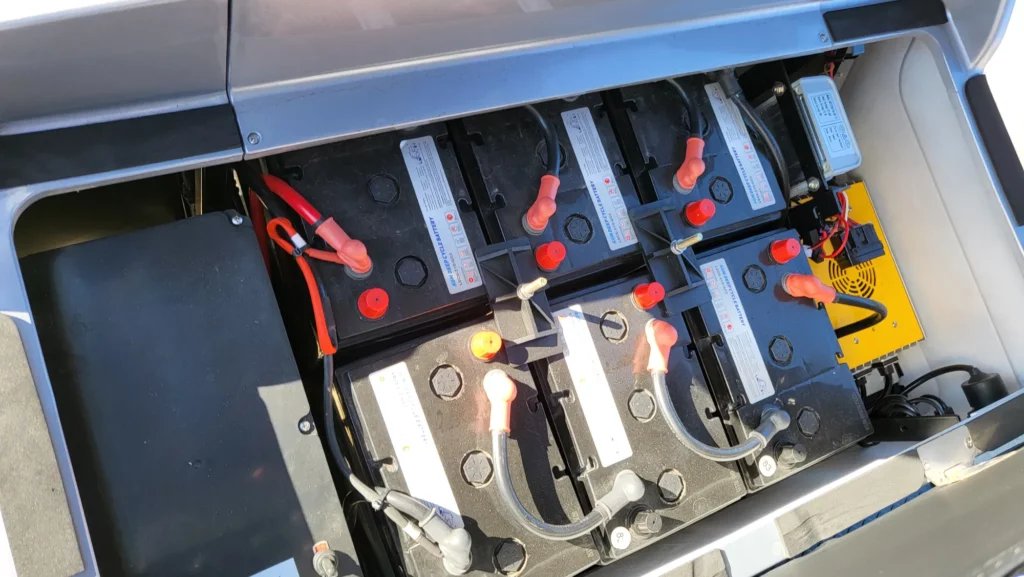
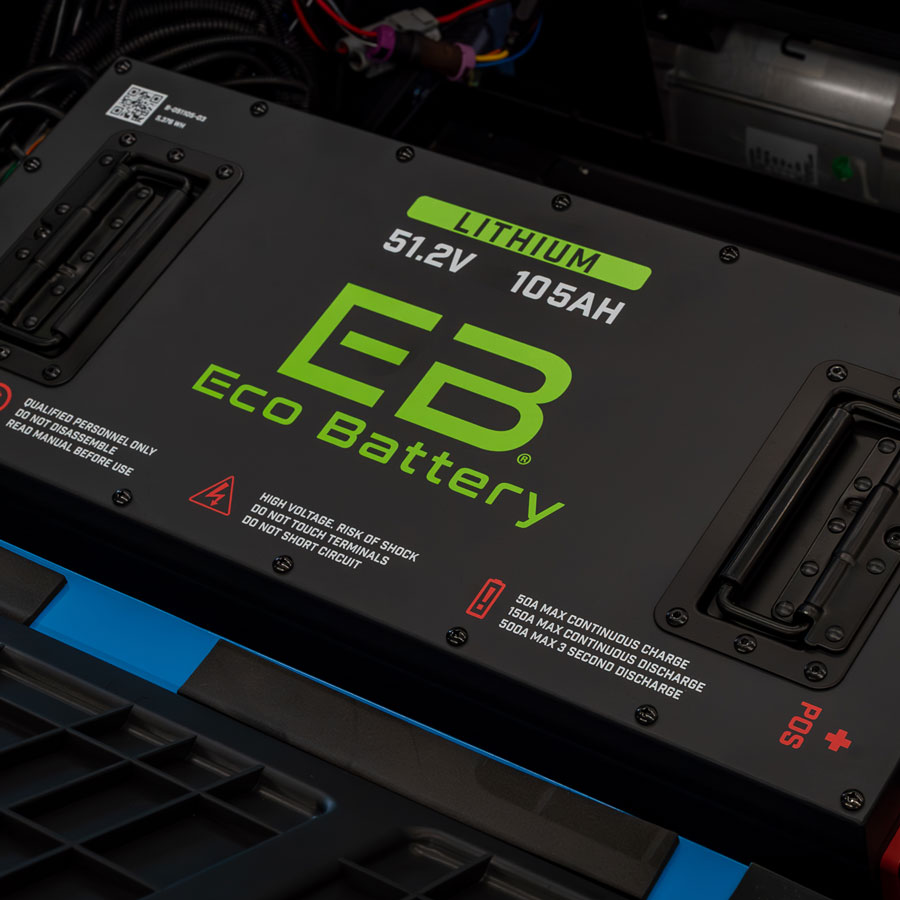
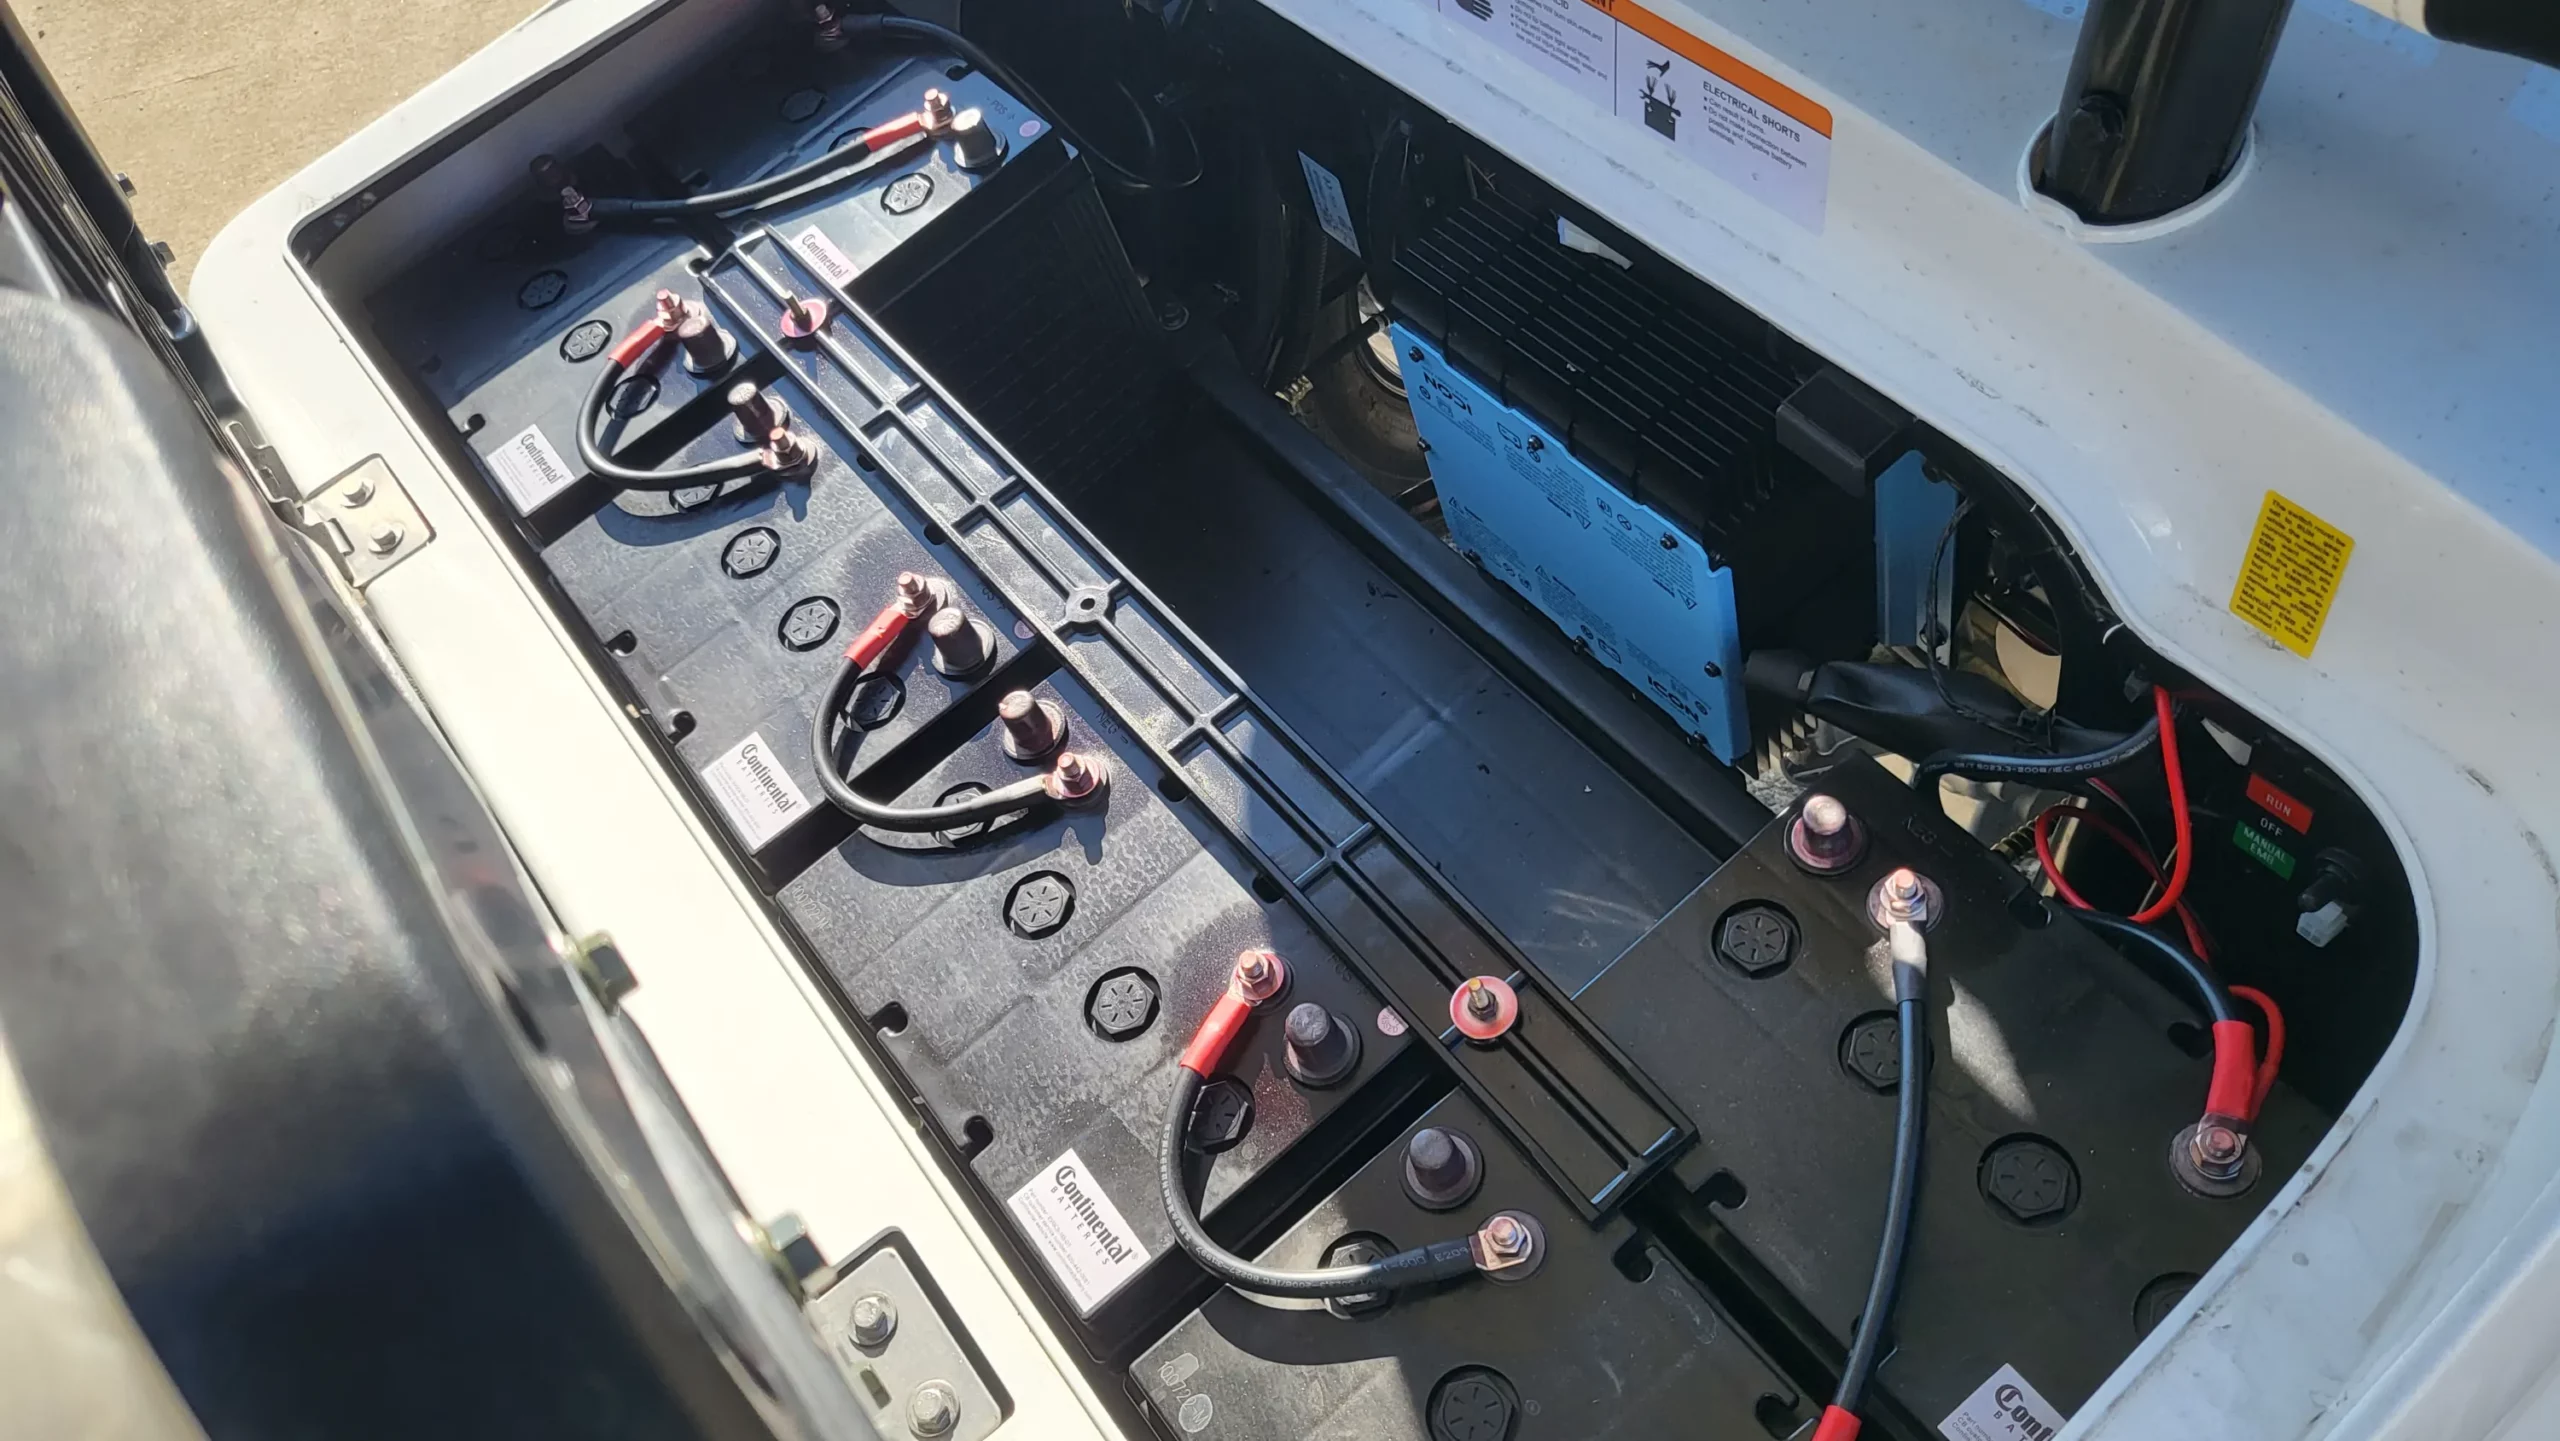
As a golf cart owner, it’s important to understand the type of battery your vehicle requires. Knowing this information can save you time and money in the long run by helping you avoid the wrong purchase. Golf carts typically use two types of batteries: lead-acid or lithium-ion. Lead-acid batteries are the traditional choice and are known for their durability and affordability. Meanwhile, lithium-ion batteries are becoming increasingly popular due to their longer lifespan and lighter weight. Knowing which battery type your golf cart requires can make all the difference in the performance and longevity of your vehicle.
Check connections and cables for any corrosion or damage
When it comes to maintaining electronic equipment, it’s important to make sure everything is functioning smoothly. One way to ensure everything is in tip-top shape is to check for any corrosion or damage on the connections and cables. Corrosion can occur when there’s been exposure to moisture, while damage can happen through everyday wear and tear. By routinely checking for these issues, you can avoid potential malfunctions and extend the life of your equipment. Don’t wait until it’s too late – take the time to inspect your connections and cables today! A massively important step on how to test golf cart batteries.

Test the voltage with a digital multimeter to ensure it is charged correctly
Testing the voltage of a battery is a crucial step in ensuring it is charged correctly. A digital multimeter is a reliable tool that can accurately measure the voltage of a battery. By testing the voltage, you can determine if the battery is charged enough to power your device. Without proper testing, you run the risk of damaging your device, leaving you stranded with a dead battery. Using a digital multimeter is easy, and it can save you time and money in the long run by preventing unnecessary battery replacements. So don’t forget to test the voltage of your battery before using it in your device!
Inspect the terminals for signs of bulging or corrosion
It’s important to regularly inspect your terminals for signs of bulging or corrosion. Neglecting to do so can result in all sorts of headaches down the road. Bulging terminals can indicate excessive heat or overloading, while corrosion can lead to poor conductivity and even terminal failure. By taking a proactive approach to terminal inspections, you can prevent issues before they arise and ensure that your electrical system is operating at its optimal level. So take the time to give your terminals a thorough inspection and enjoy the peace of mind that comes with a well-maintained electrical system.

Determine if your charger is functioning properly
Are you tired of your phone dying unexplainably? Is your charger not charging your phone as quickly or efficiently as it used to? It might be time to determine if your charger is functioning properly. One way to check is by inspecting the charger for any visible damage or frayed wires. Another way is to use a multimeter to measure the voltage and amperage output of the charger. If the readings are not within the appropriate range, then it’s time to replace your charger. Don’t let a faulty charger leave you disconnected from your friends and family. Make sure to keep an eye on its performance and keep your phone fully charged!
Perform a load test to measure the quality of your battery
Performing a load test on your battery is an essential task that helps you determine the quality of your battery’s performance. When you undertake a load test, you’ll be placing your battery under a heavy load for a specific duration. During this period, you can monitor how your battery responds on several levels, such as voltage consistently. It is also possible to measure the length of time it takes for the battery’s voltage to drop to a prescribed level. A load test provides you with the necessary data to make adjustments that can better your battery’s life and performance quality. With this quick and easy technique, you can ensure that you’re investing your time and resources wisely.

Advanced Testing Methods for Golf Cart Batteries
A few complex tests exist to check battery health with better detail than basic methods. These are four useful tests:
- Internal resistance test: The test shows how much the battery resists power flow inside. Batteries with less resistance tend to work better and give power more easily.
- Capacity test: This method checks how well a battery stores power. The test reveals if the battery loses its charge too fast which affects how long your cart runs.
- Impedance test: A test to measure power delivery ability. Less impedance often points to a battery that performs well or likely to function without problems.
- Thermal imaging: Special cameras detect heat patterns in the battery. Different temperatures in parts of the battery help find hidden problems before they cause damage.
The use of these detailed tests gives exact data about how batteries work along with early warnings about possible defects.
Battery Maintenance Tips
Routine maintenance is essential to keep your golf cart’s batteries in good condition. Here are some useful tips for battery maintenance:
- Clean the Terminals: Regularly clean the battery terminals to prevent corrosion, which can affect performance. Use a solution of baking soda and water to clean the terminals, and apply petroleum jelly or anti-corrosion spray afterward to protect them.
- Tighten Battery Connections: Make sure that the battery connections are tight to avoid poor electrical contact, which can lead to inefficiency or failure.
- Check Battery Water Levels: For flooded lead-acid batteries, check the water levels regularly and top them off with distilled water as needed. Never use tap water, as it can introduce minerals that damage the battery.
- Proper Care and Testing of Deep Cycle Batteries: Deep cycle batteries require specific care to maintain their lifespan. Regularly assess their voltage after charging and avoid excessive draining. Ensure compatibility when connecting different battery types to maintain optimal performance.

Signs of a Failing Battery
If your golf cart battery shows any of the following signs, it may be time to test it or replace it:
- Decreased Run Time: A noticeable drop in how long your golf cart runs between charges could indicate that the batteries are losing capacity.
- Slow Charging: If your battery takes much longer to charge than usual, it could be a sign of a battery issue.
- Difficulty Starting the Cart: If your golf cart struggles to start or doesn’t start at all, the battery voltage may be too low to power the motor.
- Significant Voltage Changes During Load Test: Using a load tester to simulate real-life power demands can help identify a bad battery. Significant voltage changes during the load test can indicate a bad battery, and individual batteries within a multi-battery system may fail, affecting overall performance.
Understanding Battery Life Expectancy
The lifespan of your golf cart’s battery depends on several factors, including the type of battery, how often the cart is used, and how well the batteries are maintained. It is important to consult a specialist for a precise evaluation of the battery’s performance.
- Lead-Acid Batteries: These are the most common type of battery in golf carts and typically last between 4 to 6 years. With proper maintenance, some may last even longer.
- Lithium-Ion Batteries: Lithium-ion batteries are becoming more popular for golf carts due to their longer lifespan and lighter weight. They can last up to 10 years or more with proper care.

How to Extend Battery Life
To help extend the life of your golf cart batteries, consider the following tips:
- Fully Charge Before Storing: Always ensure your batteries reach a full charge before storing your golf cart for an extended period to prevent them from losing charge and deteriorating. Modern smart chargers automatically shut off once this level is achieved.
- Avoid Overcharging: Overcharging can shorten the life of your battery. Use a charger that automatically shuts off when the battery reaches full capacity.
- Store in a Cool, Dry Place: If you’re storing your golf cart for the winter, make sure the batteries are stored in a cool, dry place to prevent damage from extreme temperatures.
- Monitor Voltage During Charge Cycle: It’s important to monitor voltage readings during the charge cycle. This helps ensure the batteries are charging correctly and can provide insights into their health. Pay attention to voltage levels immediately after charging and how they change over time.
Using a Battery Tester
For more accurate battery testing, you can use a specialized battery tester. It is recommended to perform a load test on each battery to assess their condition. These testers are designed to check the health of individual cells and give you a more in-depth reading than a multimeter. Conducting load tests is crucial to ensure battery health and longevity, as they can reveal potential issues that a simple voltage test might miss. Battery testers are especially useful for diagnosing more serious issues that a simple voltage test might miss. Battery testers usually take care of the part on knowing the how to test golf cart batteries.

Troubleshooting and Replacement
If your test results show a battery problem in your golf cart, you need to fix or replace them. These are key issues and solutions:
- Low voltage: When voltage reads below normal, check the battery connections or charging system. Clean all connections. Replace the battery if the problem continues.
- High internal resistance: A high reading from the resistance test points to a failing battery. This means the battery has trouble to send power as needed, so you should replace it.
- Capacity loss: When capacity tests reveal major power loss, the battery does not hold a charge well. You need to replace it to keep your golf cart in good shape.
- Physical damage: Damage like cracks or swelling needs instant attention. Such batteries pose risks so replace them right away.
Concluding
Maintaining and caring for your golf cart’s battery is essential in ensuring its performance and longevity. With proper inspection, testing, and charging, you are sure to have a battery that keeps running like new. After completing these steps and understanding the type of battery your cart contains, you can rest assured that your golf cart will be up and running whenever you need it. To further protect your investment, make sure to follow the manufacturer’s maintenance recommendations, so you can stay out on the course for many happy rounds of golf. We hope this helps you with how to test golf cart batteries.


