Is your current golf cart looking dull and outdated? Painting a used or worn-out golf cart is the most cost-effective way to bring it back to life! If you want to turn your golf cart into the envy of the neighborhood, all you need is the right tools and preparation. In this blog post, we discuss how to paint a golf cart step by step, and sprinkle in some tips that can help you achieve a professional finish.
Preparing the Golf Cart for Paint
To achieve a flawless paint job on your golf cart, it will require diligent preparation. Start with thorough cleaning and sanding. Sand the surface to create a smooth base. This will remove any rust and ensure the surface is ready for paint. After sanding, apply a primer to create a barrier between the metal and the paint. Primer enhances paint adhesion and protects the metal from the elements. With proper cleaning, sanding, and priming, your golf cart is ready for its new coat of paint!
Choosing the Right Type of Paint
When it comes to painting your home, choosing the right type of paint can make all the difference. It’s important to take into consideration factors such as weather conditions, durability, and aesthetics. If you live in an area with harsh weather conditions, opting for a paint that is resistant to rain, sun, and wind can help ensure your home’s exterior looks good for years to come. Similarly, if you have high traffic areas or kids in the house, choosing a durable paint will prevent chipping and fading. And of course, don’t forget to consider the overall look and feel you want to achieve. Whether it’s a timeless neutral or a bold statement color, picking the right paint can truly transform your home.
Choosing the Right Type of Paint
There are a few factors to consider when choosing the paint for your golf cart. Think about the weather conditions your golf cart will commonly encounter. This will help you strike a balance between aesthetics and durability. If you live in harsher weather conditions you will need paint that resists sun, rain and wind. If this is coupled with frequent use of the golf cart, you will want to opt for a more durable paint to prevent chipping and fading. Next you will want to consider the style you want to achieve. Do you want to blend in, stand out, or create a timeless look?
Applying Paint to the Golf Cart
Applying paint to your golf cart can be done in multiple ways. A paint sprayer is preferred to a brush in most areas as it provides a smoother finish. Brushes require less setup and equipment but quality tends to depend more on the skill level of the painter. Unskilled painters are likely to leave behind drips, trails, and uneven coverage. With attention to detail, you can achieve that professional-looking finish with either method.
Finishing Touches
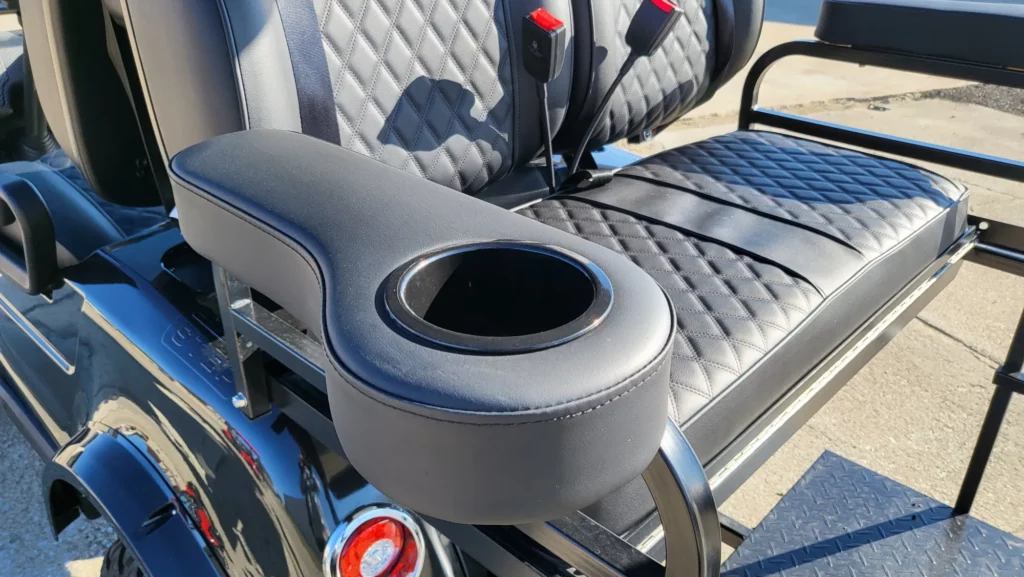
Decals, pinstripes, or other details can add significant flare and personalization to your golf cart. Stripes tend to be incorporated more into the retro style of paint jobs while decals allow for more creativity and personal touch. Pair these to match a colored stitch in the seat and watch your golf cart pop. Don’t underestimate the role the smaller details play in helping your golf cart stand out.
Curing the paint – Allow the paint to dry fully before using your golf cart
When you finish applying the paint, allow time for it to fully cure before using your golf cart. If you take it for a spin too soon, you risk ruining all your hard work. You must wait for the paint to dry completely to ensure a smooth, even finish that can stand up to the road or course. Patience pays dividends here.
Maintenance Tips
Maintenance is an essential part of keeping your golf cart looking new. Simply cleaning with soap and water at regular intervals will keep your cart free of dirt and grime. This will also allow you to perform inspections and help identify issues like loose bolts and leaking fluids. Routine maintenance extends the lifespans of not only your paint job but your golf cart altogether.
Concluding
Painting your golf cart is a great way to refresh its look and attract attention on the course. Make sure to choose the right paint and prep the surfaces properly before applying. Once applied, give ample time for the paint to finish drying before taking it to show off. Regularly clean and inspect your golf cart to keep the paint looking good and stay ahead of any maintenance issues. This will keep your golf cart in peak performance for many seasons!