Keeping your golf cart in good working condition includes ensuring the brakes operate effectively. This is especially important for older models like the 1992 EZ Go. Over time, brake performance can decline due to cable stretching, shoe wear, or dirt accumulation. If you want to avoid compromised safety and poor stopping power, it’s essential to know how to adjust 1992 EZ Go golf cart brakes properly. This guide will walk you through the process, with clear explanations of each step and system involved.

Overview of the 1992 EZ Go Brake System
The 1992 EZ Go golf cart uses a mechanical drum brake system on the rear axle. Unlike hydraulic systems, which rely on fluid pressure, mechanical drum brakes use steel cables to transfer force from the brake pedal to the brake shoes. As you press the pedal, the cables pull levers that push the brake shoes outward. The shoes then make contact with the inside of the brake drum to create the friction needed to slow the cart.
Over time, the components in this system loosen. Cables stretch, shoes wear down, and hardware like the return springs can weaken. If the brakes feel spongy or ineffective, it’s time to adjust them. Knowing how to adjust 1992 EZ Go golf cart brakes lets you maintain performance without relying solely on repair shops.
Safety and Preparation
Before working on the brakes, make sure the cart is on level ground. Turn off the ignition, remove the key, and engage the parking brake. Block the front wheels with chocks to prevent rolling. Then, use a jack to lift the rear of the cart and secure it with jack stands. These steps ensure you can work safely under and around the cart.
You’ll need basic tools: a jack, jack stands, a lug wrench, a flathead screwdriver or brake spoon, and gloves. Cleaning supplies like brake cleaner and a wire brush are helpful too. With the tools ready, you’re set to begin adjusting the brake components.
Inspecting the Braking System
To adjust the brakes properly, it helps to understand what condition they’re in first. Remove the rear wheels to expose the brake drums. Examine the drums for grooves or discoloration, which may indicate excessive wear or heat. If the surface is rough or heavily scored, resurfacing or replacing the drums might be necessary.
Next, check the brake shoes. The friction material should be at least 1.5 mm thick. If it’s thinner, replace the shoes rather than adjusting them. Look at the springs and hardware too. Make sure everything is intact and free of rust or dirt buildup. Damaged or seized components will affect braking even after adjustment.
With the wheels off and components inspected, you’re ready to make the necessary adjustments to improve brake function.
Adjusting the Brake Shoes
Each brake assembly has a star wheel adjuster located at the bottom. You can access this wheel through a slot in the backing plate behind the brake drum. If the slot is covered by a rubber plug, remove it carefully. Shine a light into the slot to locate the star wheel.
Use a brake spoon or flathead screwdriver to turn the star wheel. Rotating it expands the brake shoes outward, bringing them closer to the drum’s inner surface. Turn the wheel until you feel slight resistance when rotating the hub by hand. If it becomes hard to turn or locks up, back off slightly. You want a small amount of drag, not a fully locked wheel.
Once adjusted on one side, repeat the same steps on the other. It’s important to balance both sides for even braking. Uneven brake tension can cause the cart to pull to one side or lead to premature wear.
Adjusting the Brake Pedal
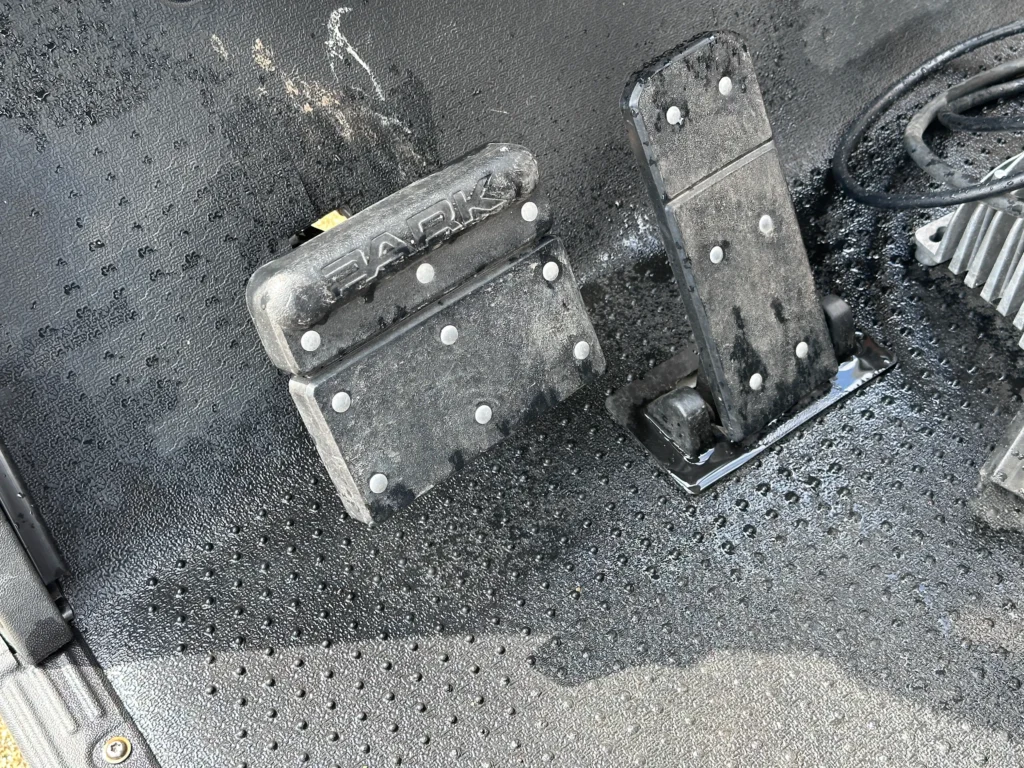
If the brake pedal still feels loose after adjusting the shoes, the cables may need tensioning. The cable system typically meets at a compensator under the cart. You’ll find a threaded rod with an adjustment nut. Tightening this nut shortens the cable path, which reduces free play in the brake pedal.
Turn the nut slowly and check the pedal travel after each adjustment. Ideally, the pedal should have some initial resistance and engage the brakes before it hits the floor. If it feels overly stiff or still spongy, continue adjusting until the response is consistent and firm.
Make small changes and test frequently. Over-tightening the cable can cause the brakes to drag even when the pedal isn’t pressed, leading to overheating or early wear.
Reassembly and Functional Testing
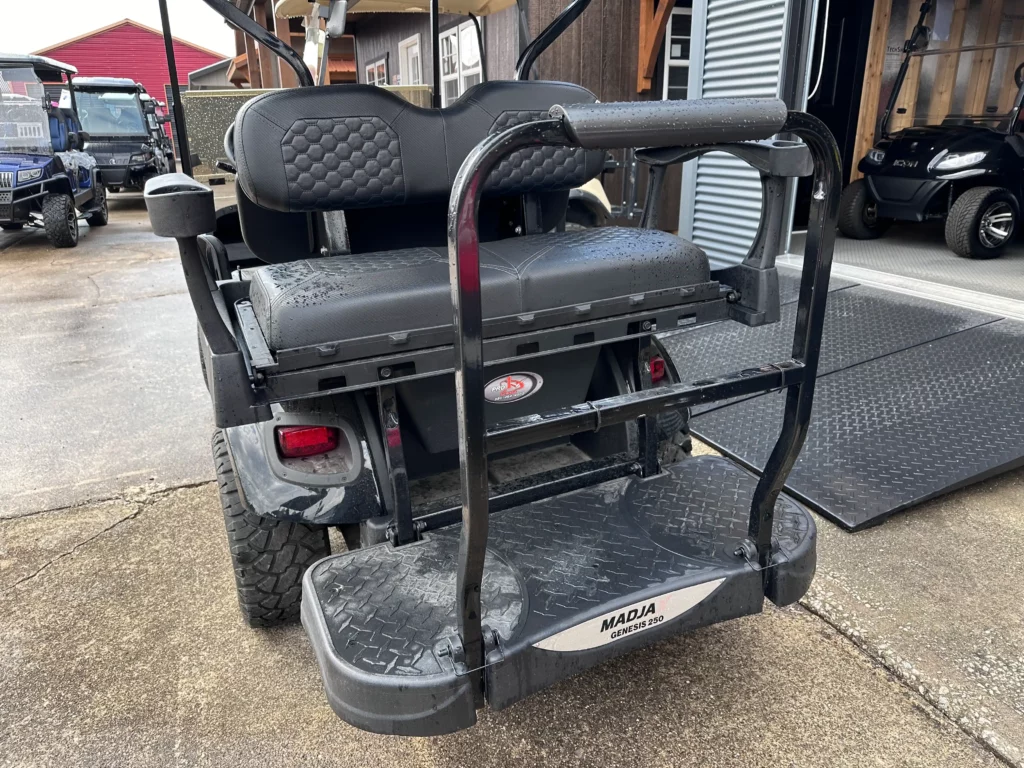
After completing the adjustments, reattach the wheels and lower the cart from the jack stands. Double-check that all tools are removed from the work area. Sit in the cart and apply the brakes firmly to verify pedal feel. Then, roll the cart slightly to see if the brakes engage properly.
Take the cart for a slow test drive in an open area. Try braking at different speeds and during turns. The cart should stop evenly without pulling to one side. If it feels off, recheck the individual wheel adjustments and the cable tension.
This testing step confirms whether your brake adjustment has restored performance. It also helps identify any lingering issues, such as sticking cables or weak springs.
Maintenance Tips to Keep Brakes Working
After learning how to adjust 1992 EZ Go golf cart brakes, it’s important to follow a routine maintenance schedule. Clean the brake assemblies every few months to remove dust and debris. Check the cable housings for signs of fraying or corrosion, especially if the cart is used in damp or dirty environments.
Lubricate the pivot points and cable ends with a dry lubricant to ensure smooth motion. Avoid greasy or wet lubricants, as these attract dust and can worsen performance. Replace any worn or damaged parts promptly to maintain balance and function.
Regular brake inspection should become part of your maintenance habit, especially if the cart is driven daily or on hilly terrain. It ensures reliability and minimizes the need for future major repairs.

Conclusion
Knowing how to adjust 1992 EZ Go golf cart brakes gives you control over one of the most important safety systems in your vehicle. By checking the shoes, drums, cables, and pedal tension, you can restore proper braking function without relying solely on a mechanic. Adjusting your brakes takes a little time and care, but it ensures that your cart operates safely and smoothly for years to come.
For parts, accessories, or expert service on EZ Go and other top brands like Icon and Evolution, visit Hartville Golf Carts. To learn more about drum brake systems, check out the detailed breakdown on Wikipedia.


