Golf cart chargers play a crucial role in maintaining consistent performance and ensuring your batteries are always ready for the next round. Like any electrical device, however, they can experience interruptions due to tripped breakers, power surges, or simple wear over time. Knowing how to reset a golf cart charger is an important skill that can save you both time and frustration. With the right steps and safety awareness, you can restore your charger’s function and keep your cart running smoothly.
Why Your Golf Cart Charger May Stop Working
Before jumping into the reset process, it helps to understand the reasons a charger might stop functioning. Power outages, loose cables, and blown fuses are common culprits. In other cases, chargers may enter a protective shutdown mode after overheating or detecting a faulty battery. Dirt, moisture, or corrosion at the connection points can also interrupt charging. Understanding these factors helps you avoid unnecessary replacements and ensures that when a reset is required, it actually solves the problem rather than masking a deeper issue.
Identifying the Signs of a Charger Malfunction
Several signs can indicate your charger needs a reset. If the charger fails to turn on, does not show any lights, or shuts off unexpectedly, it may have tripped internally. Unusual clicking sounds or fluctuating power output are also signs of malfunction. In other cases, the charger might start but not complete the charge cycle. When this happens, testing your power source and verifying the condition of the charger’s cables can confirm whether a reset is the next logical step.
Safety Precautions Before Resetting
Whenever you handle electrical equipment, safety must come first. Always unplug the charger from the outlet before touching any components. Work in a dry, open area to prevent moisture from causing short circuits. Check for damaged cords or frayed wires before proceeding. Wear insulated gloves if possible and avoid standing on wet surfaces. If your charger smells burnt or feels unusually hot, let it cool completely and inspect it for internal damage before continuing. Following these simple steps minimizes risk while resetting your golf cart charger.
Step 1: Unplug and Inspect All Connections
Begin by unplugging the charger from both the golf cart and the power source. Examine each connector carefully for dust, corrosion, or debris. Even a small amount of corrosion on the plug or terminals can prevent the charger from recognizing the battery pack. Clean the contacts gently with a dry cloth or brush to ensure a solid electrical connection. Once the connections are clear, you can proceed to the next step in the reset process.
Step 2: Check the Power Supply and Breakers
Before resetting the charger itself, verify that the outlet you are using is functional. Plug another device into the same socket to test it. If the outlet does not work, check your circuit breaker or ground fault interrupter (GFI). Reset any tripped breakers or outlets before reconnecting your charger. In some cases, a charger problem may actually stem from inconsistent household power rather than the charger itself. Ensuring your power source is reliable can save unnecessary troubleshooting later.
Step 3: Locate the Reset Button or Procedure
Most modern golf cart chargers include a reset button, usually located on the front or side panel. Press and hold this button for five to ten seconds to reset the charger’s internal circuitry. If your model does not have a visible reset button, consult the user manual for instructions. Some chargers require a power cycle instead, which involves unplugging the charger for several minutes before plugging it back in. These resets clear error codes and restore normal function when the system detects a temporary fault.
Step 4: Reset the Charger Manually (for Older Models)
Older chargers without built-in reset buttons can still be reset manually. To do this, disconnect the charger from power and the golf cart completely. Wait at least five minutes to allow any residual charge to dissipate. Then, plug the charger back into the wall outlet first and reconnect it to the cart. This manual reset reinitializes the internal circuits, clearing most temporary faults. If your charger has indicator lights, watch for them to flash or return to normal color as confirmation of a successful reset.
Step 5: Test Charging Performance After Reset
After performing a reset, test the charger to confirm it functions properly. Plug it into the cart and observe the indicator lights. A steady or blinking light usually signals that the charger recognizes the battery and has begun charging. If nothing happens, double-check all cables, fuses, and the outlet again. When voltage remains stable and charging resumes normally, the reset was successful. For additional reference, the Wikipedia article on battery chargers explains the role of charging systems in maintaining battery life and safety.
Common Charger Problems That Require Resetting
Chargers may enter protection mode for several reasons. Overvoltage, short circuits, or unstable power flow often trigger the shutdown. Faulty batteries can also confuse the charger’s sensors, making it appear unresponsive. Temperature extremes are another factor, as most chargers automatically stop working when they overheat. Identifying these causes ensures the reset actually addresses the root issue rather than offering a short-term fix. Once resolved, the charger should operate reliably and safely.

Resetting Smart Chargers
Smart golf cart chargers use microprocessors to monitor charge cycles and battery health. While convenient, they can sometimes freeze or misread signals from the battery pack. To reset a smart charger, unplug it from all power sources and leave it disconnected for at least fifteen minutes. This clears the memory and resets the software. After reconnecting, the charger should recalibrate and detect the correct voltage. If it still fails to function, check for firmware updates or contact the manufacturer for support.
When a Charger Does Not Reset
If your charger remains inactive after several reset attempts, deeper issues may be at play. Faulty internal circuits or burnt components could prevent it from turning on. In such cases, professional inspection may be required. However, before replacing the unit, test it on another golf cart to confirm the issue is truly with the charger. If the problem persists, it might be time to consider an upgrade to a newer model with advanced charging capabilities.
Maintaining Your Golf Cart Charger
Regular maintenance prevents many charging problems. Keep your charger clean and free from dust. Avoid storing it in damp or enclosed spaces, as moisture can damage the components. Wipe down the casing periodically and check cords for wear or fraying. Always disconnect the charger properly after each use, and never yank the cable from the wall. Simple habits like these extend the lifespan of your charger and reduce the need for resets or replacements.
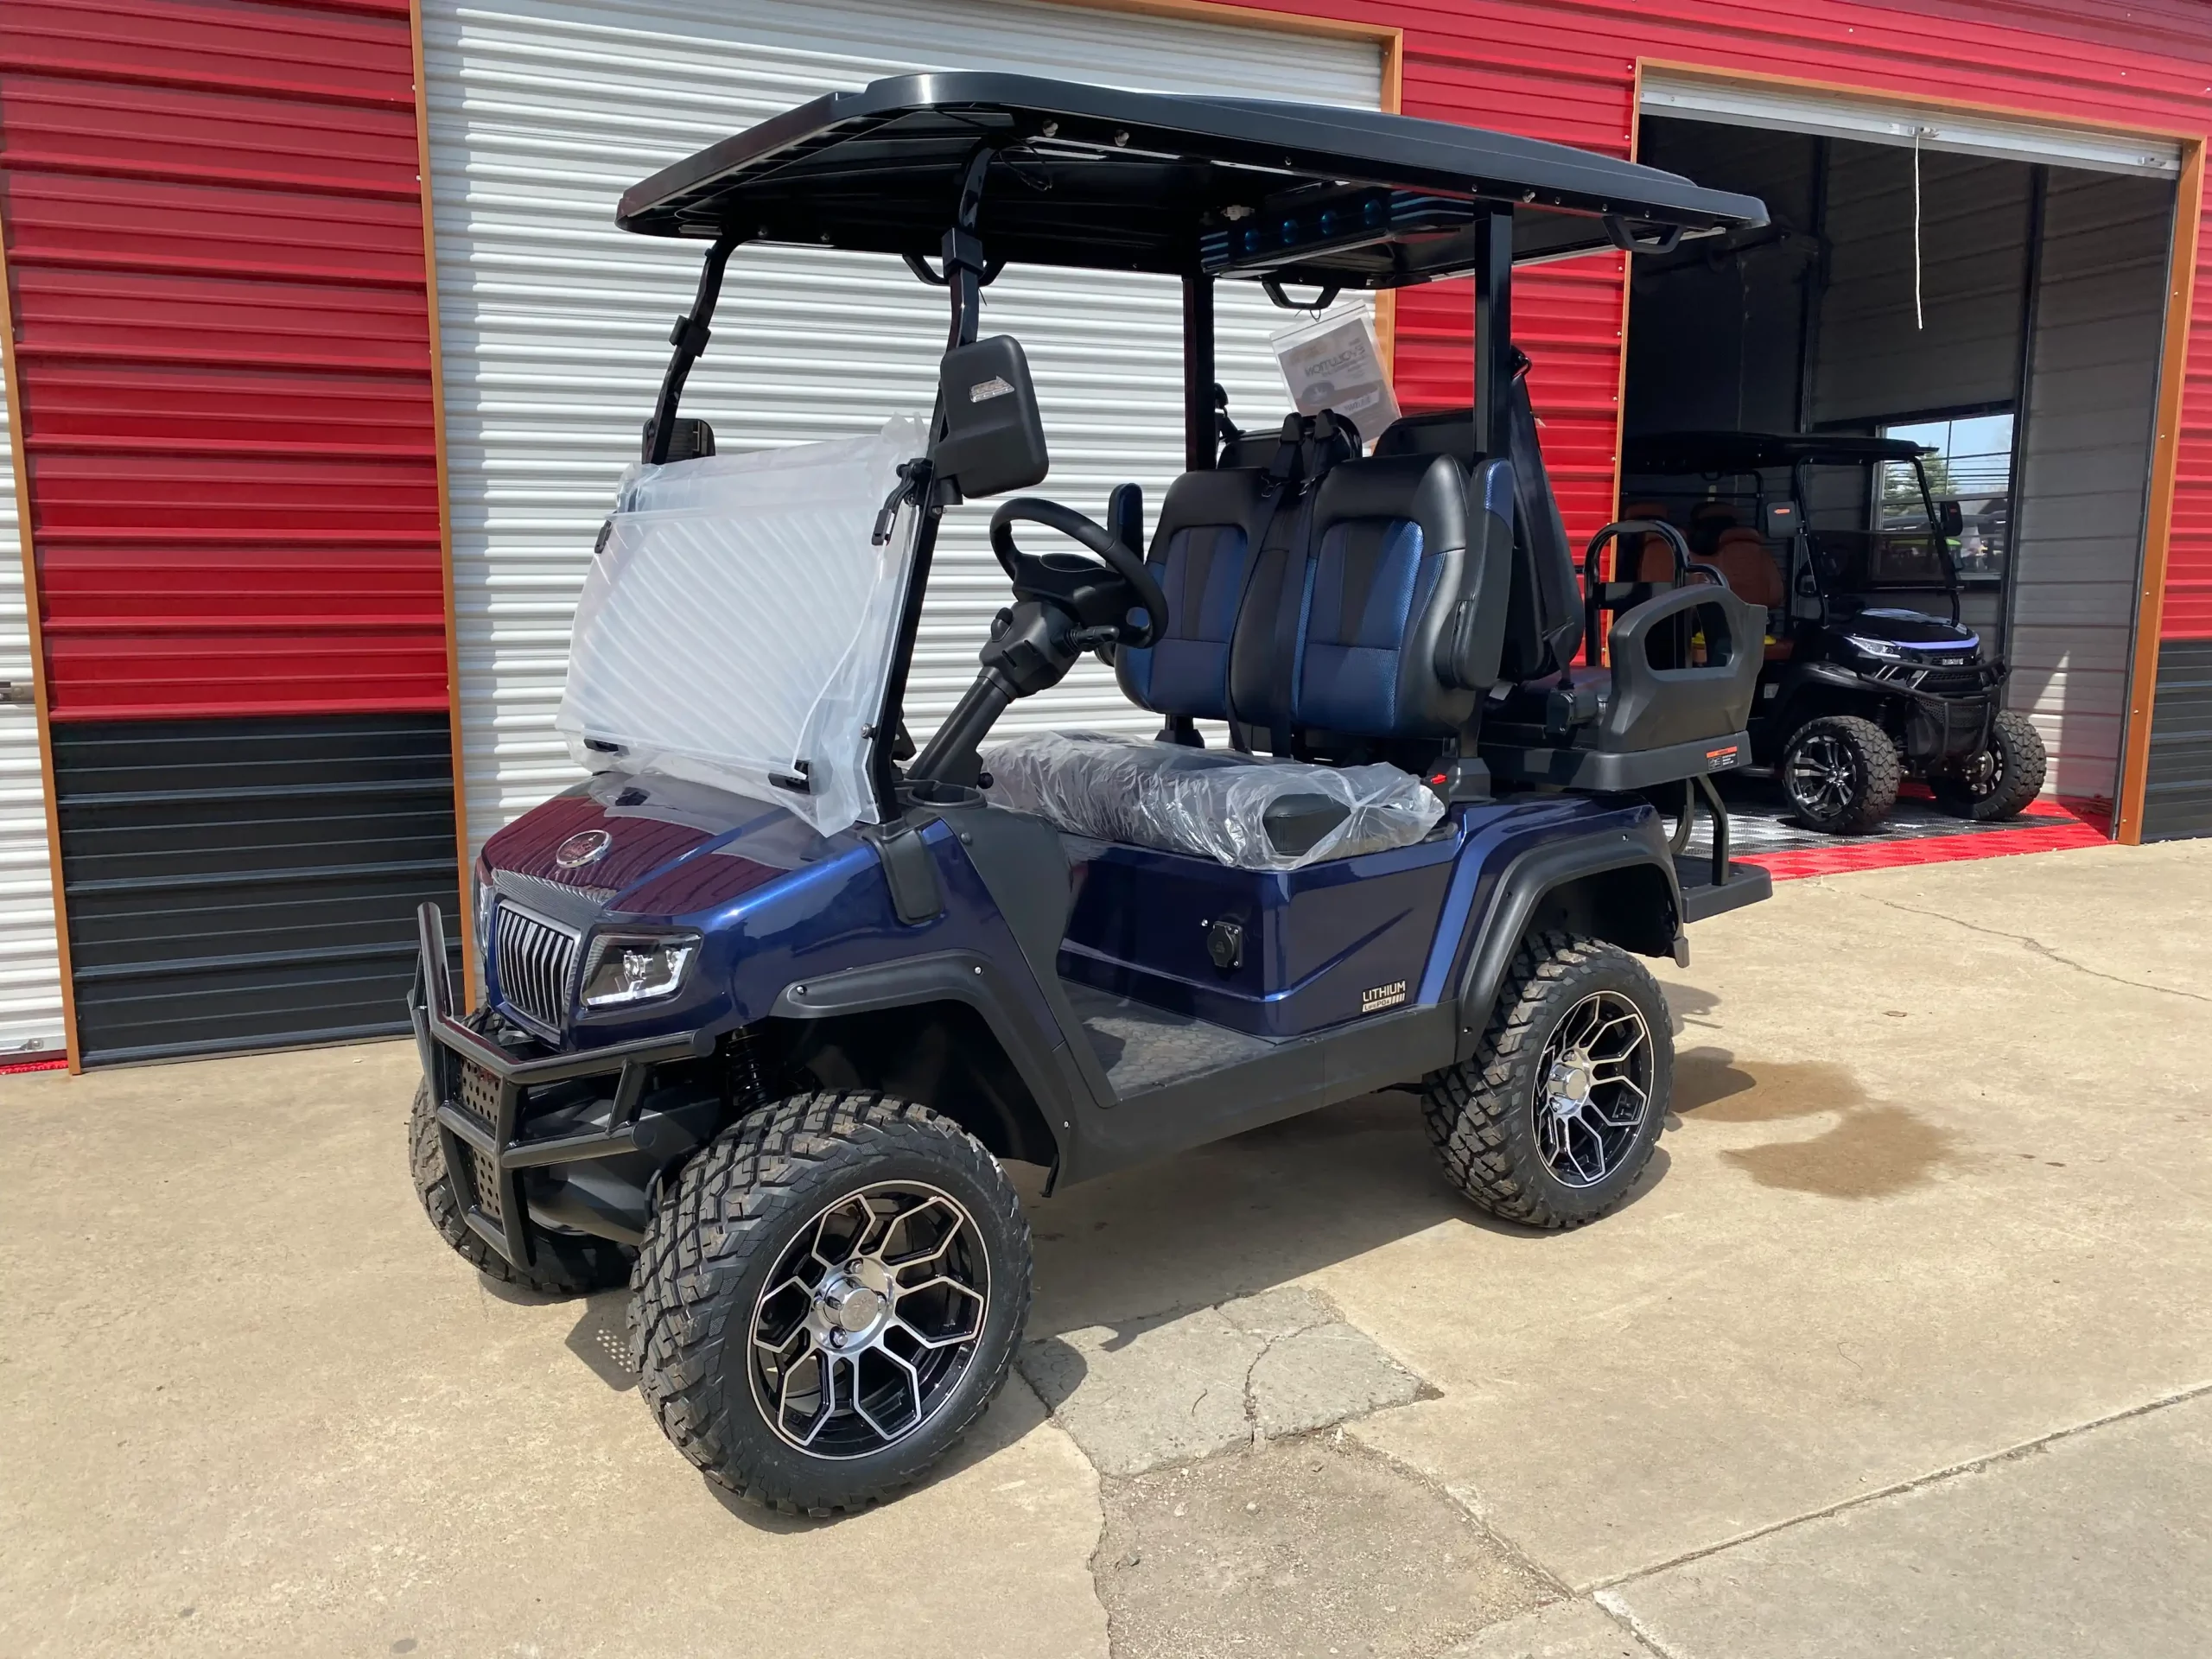
Upgrading to Modern Charger Systems
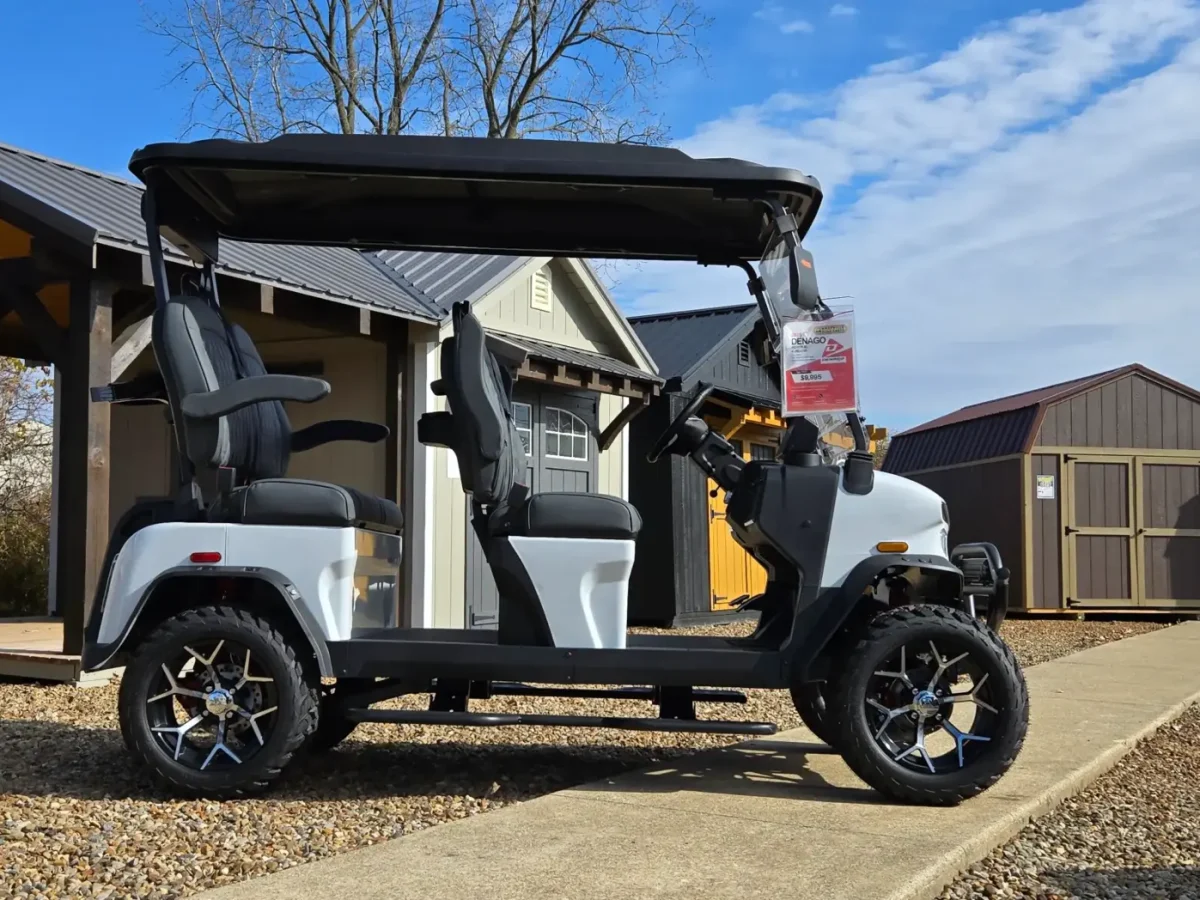
Modern golf carts use advanced smart chargers that automatically adjust voltage and current to match battery needs. These systems reduce overcharging and increase energy efficiency. If your current charger frequently needs resetting, it may be outdated. Upgrading to a model designed for your cart ensures better performance and reliability. The Evolution EV D5 Ranger 4 represents a step forward in energy-efficient design, offering intelligent charging and consistent battery management for long-lasting use.
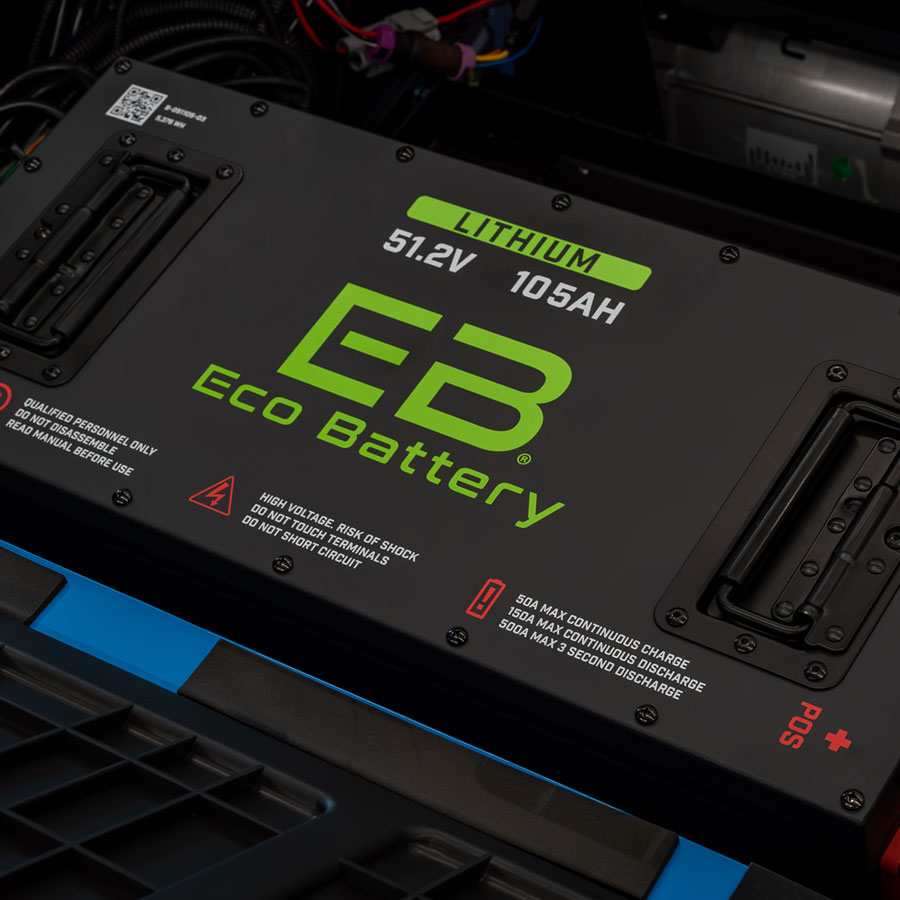
Understanding the Relationship Between Charger and Battery Health
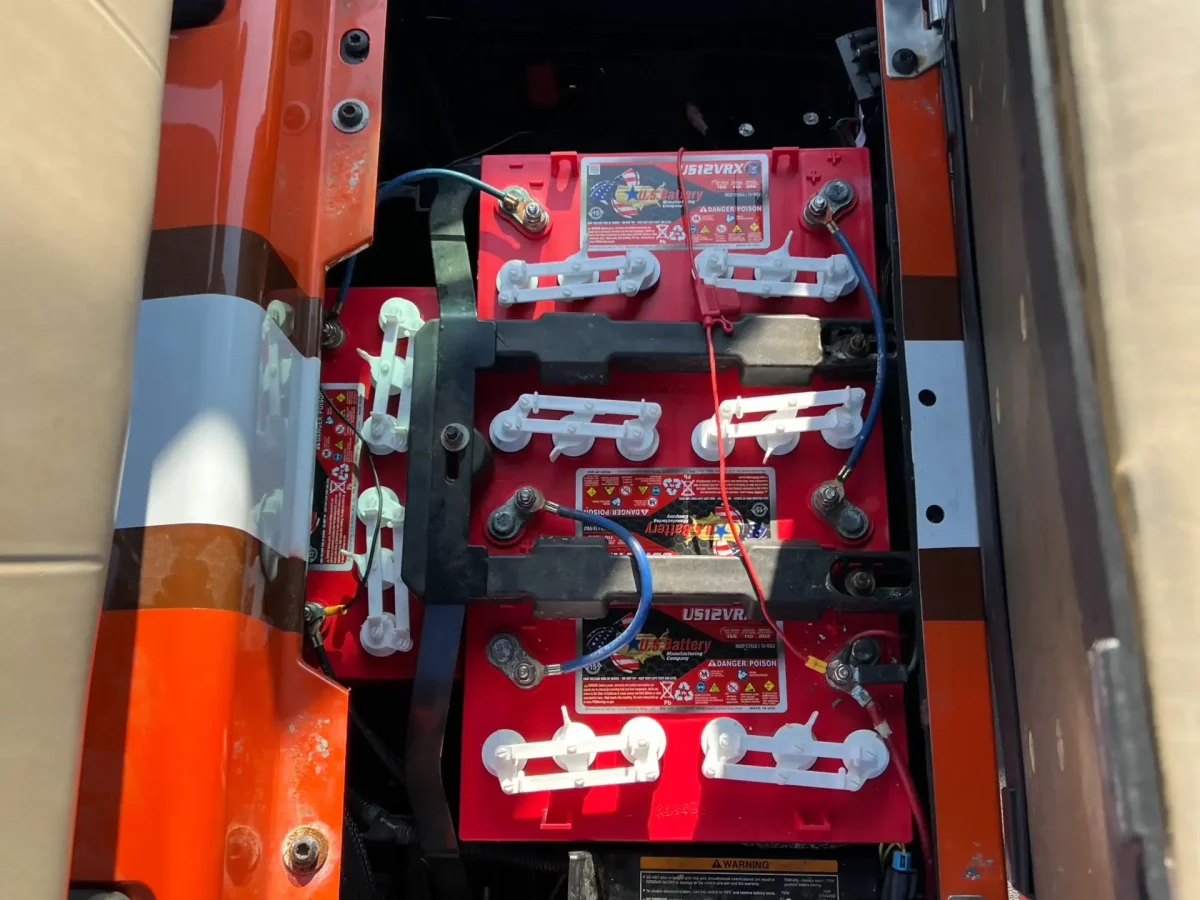
Your golf cart’s charging system and battery pack work hand in hand. A weak or sulfated battery can cause the charger to malfunction or shut down prematurely. Performing regular battery maintenance helps prevent these problems. Check water levels in lead-acid batteries, clean the terminals, and avoid over-discharging the pack. By maintaining healthy batteries, you reduce strain on the charger and minimize the need for resets.
Environmental Factors Affecting Charger Function
Temperature, humidity, and power quality all influence how well your charger performs. Extremely cold conditions can slow the charging process, while high heat increases the risk of overheating. Using a surge protector helps safeguard the charger from voltage spikes during storms. Storing your charger in a dry, temperature-controlled space will prolong its lifespan. Taking environmental conditions into account ensures stable performance throughout the year.
When to Replace a Faulty Charger
Eventually, every charger reaches the end of its life. If you notice burned smells, melted plastic, or no power even after a reset, replacement is the best option. A new charger improves safety, speed, and efficiency. Many modern chargers include smart indicators that automatically detect battery type and adjust settings accordingly. Replacing your old unit also enhances compatibility with upgraded carts that feature lithium or high-efficiency batteries.
Conclusion
Knowing how to reset a golf cart charger gives you the confidence to keep your cart ready for every round. When your charger refuses to power up, a simple reset often restores full function. If you are considering an upgrade to a more efficient and advanced model, explore the range of premium golf carts and smart charging systems available through Hartville Golf Carts. Our team can help you find a modern golf cart that combines power, comfort, and performance for your daily drives or leisure rides.