Over time, golf cart seats experience wear and tear from sunlight, rain, and daily use. This leads to fading, cracks, or torn upholstery. Fortunately, you do not need to replace the entire seat assembly to restore comfort and appearance. Learning how to recover a golf cart seat is a simple project that saves money and improves your cart’s look. With the right tools and materials, you can give your golf cart a refreshed interior that feels new again.
Why Recovering Your Golf Cart Seat Is Worth It
Recovering your golf cart seat does more than improve appearance. It restores comfort and prevents further damage. A torn seat allows moisture to soak into the foam, which can lead to mold or rust on the frame. Reupholstering protects your investment and adds personality to your vehicle. To explore carts or accessories that match your style, visit the Hartville Golf Carts homepage.
Tools and Materials You Will Need
Before beginning, gather everything you need for a smooth process. The basic tools include a staple gun, stainless steel staples, a screwdriver, pliers, foam padding, scissors, and a new vinyl seat cover. Choose marine-grade vinyl because it resists sunlight and moisture. You may also need spray adhesive to hold layers in place while you work. Having all tools ready before you start helps ensure a clean, wrinkle-free result.
Step 1: Remove the Seat Assembly
Begin by taking the seat off your golf cart. Most seats are attached with bolts or screws under the cushion. Keep track of the hardware so you can reinstall it later. Place the seat on a sturdy workbench or flat surface. Flip it upside down to see the old staples or fasteners. Gloves are recommended to prevent cuts or scrapes while you remove them.
Step 2: Take Off the Old Upholstery
Use a flathead screwdriver or staple remover to pull out the old staples. Remove the vinyl carefully to avoid tearing the foam if you plan to reuse it. If the foam looks flattened or cracked, replace it with new high-density padding for better support. Clean the seat base and inspect for rust or loose screws. A clean surface helps the new cover attach firmly and look professional.
Step 3: Prepare the New Seat Cover
Lay your new vinyl face down on a large, clean table. Place the foam and baseboard on top and cut the vinyl with at least three inches of extra material around each side for stapling. If you are unsure about sizing, many suppliers offer pre-cut covers that fit your cart’s make and model. For assistance finding the right cover, contact the team at Hartville Golf Carts.
Step 4: Stretch and Staple the New Cover
Once your vinyl is cut, start stapling from the center of each side and work toward the corners. Pull the vinyl tight but avoid overstretching. Alternate sides as you staple to keep even tension. Fold and tuck the corners for a smooth, rounded finish, then trim excess vinyl. Stainless steel staples work best for outdoor conditions because they resist rust.
Step 5: Inspect and Reinstall the Seat
When stapling is complete, look over your work. The vinyl should appear smooth and tight without wrinkles. Turn the seat over and confirm that the fit looks even. Reinstall it on your golf cart using the same hardware, tightening the bolts securely but not too firmly. The result should look clean and feel supportive, giving your cart a like-new appearance.
Choosing the Right Seat Cover Material
Material choice influences both durability and comfort. Marine-grade vinyl remains the best option for most golf carts because it withstands rain and sunlight. Some owners prefer two-tone vinyl or custom embroidery for a personal touch. Cloth materials can feel softer but usually wear faster. Think about your local climate and how often you drive before choosing the right fabric.
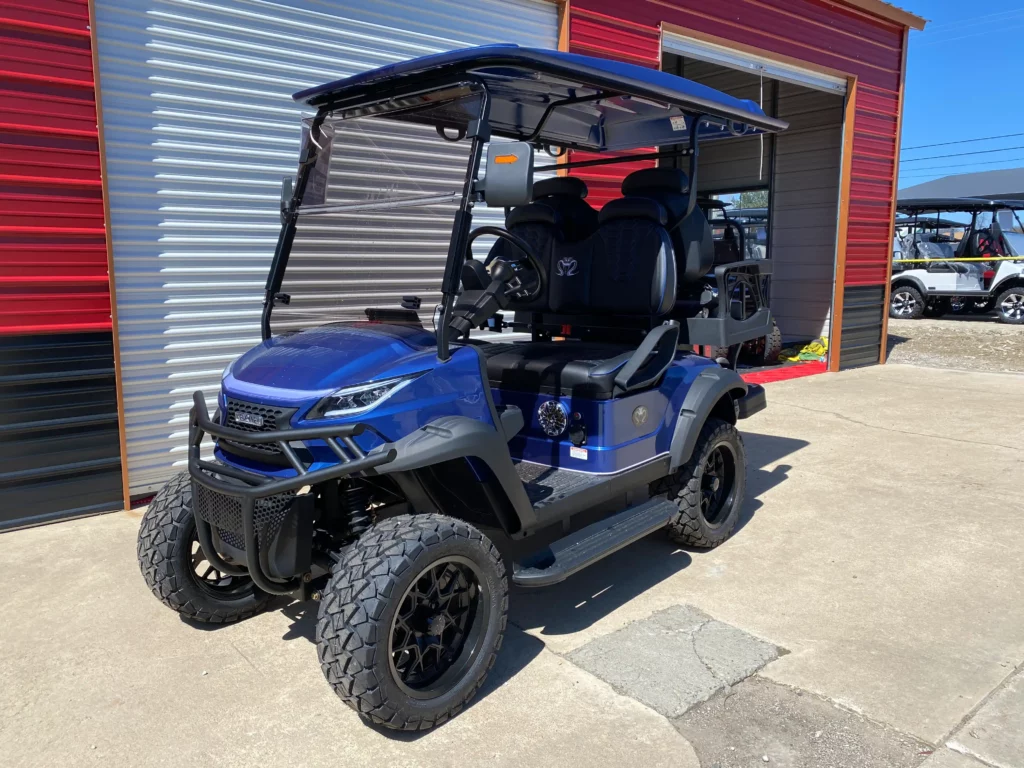
Upgrading Instead of Recovering
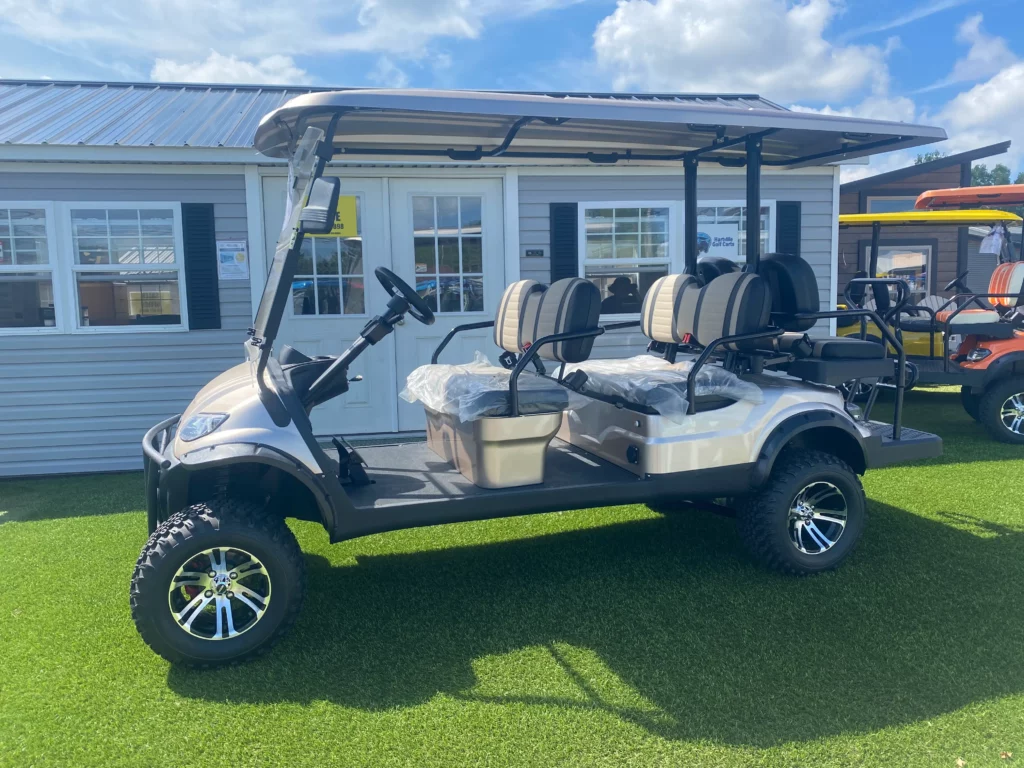
Recovering is cost-effective, but some cart owners decide to upgrade to entirely new seats. The Evolution D-Max GT6 is an example of a model designed for comfort and luxury. It features stylish seats that match its premium build. Whether you choose to reupholster or replace, upgrading your golf cart interior immediately boosts both comfort and value.
Maintaining Your New Seat
To keep your recovered seat looking fresh, clean it regularly with mild soap and water. Avoid harsh cleaners or solvents that damage the vinyl. Store your golf cart indoors or use a cover when not in use to prevent fading from the sun. A vinyl conditioner applied twice a year will help preserve color and flexibility. Small habits like these can make your work last much longer.
Tips for a Professional Look
Patience makes the difference between an amateur and professional finish. Work slowly and staple small sections at a time. Use a powered stapler for consistent pressure. If wrinkles appear, a hair dryer on low heat will soften the vinyl so you can stretch it again. Carefully folding and trimming corners gives your seat a polished look comparable to professional upholstery.
Common Mistakes to Avoid
Do not cut the vinyl too small. Extra fabric is always better because you can trim it later. Avoid using regular indoor staples that can rust. Be sure your foam fits the seat base snugly. If the padding is too thick, the seat may not bolt back into place correctly. Take your time and double-check measurements before stapling anything permanently.
When to Get Professional Help
If your seat has a cracked frame, deep rust, or complex stitching, professional help may be the best option. Upholstery specialists can match original designs or create new ones. If you prefer guidance on choosing materials or connecting with a local service, reach out to Hartville Golf Carts for recommendations.
Slip-On Seat Cover Alternatives
If you want a quick and affordable refresh, slip-on covers are another option. They protect the original upholstery and install in minutes without tools. Neoprene and canvas covers are easy to clean and replace when needed. While they will not fix damaged foam, they do extend the life of your current seats and make maintenance simple.
Adding Extra Comfort
Recovering your seat is also a good time to consider comfort upgrades. Add gel padding, memory foam, or heated seat kits for a custom experience. Many modern electric golf carts come with advanced seating comfort built in. To explore these upgrades, visit Hartville Golf Carts and browse high-end options that combine durability with style.
A Brief Look at Golf Cart Seat History
Golf cart seats have changed dramatically since the early 1950s. The first carts used wooden benches covered in thin vinyl. Today’s seats feature molded foam, marine-grade materials, and ergonomic shapes. The goal has always been to increase comfort and longevity. To learn more about how upholstery evolved over time, check out the Wikipedia article on upholstery.
Conclusion
Recovering your golf cart seat is a simple project that transforms the look and comfort of your vehicle. The process takes patience, but the results are rewarding. By using durable materials and following careful steps, you can achieve a factory-quality finish. When you are ready for a new look or a complete upgrade, the team at Hartville Golf Carts can help you choose the best path forward.