Painting a golf cart body is one of the most effective ways to refresh its look, personalize its style, or restore its shine after years of outdoor use. Whether the cart has faded from sun exposure or you simply want a fresh color, understanding the right techniques and materials can make the project smooth and rewarding. Some owners try a simple spray paint job, while others choose automotive grade paint for a more refined appearance. Knowing your options helps you decide which method fits your skill level, timeline, and expectations.
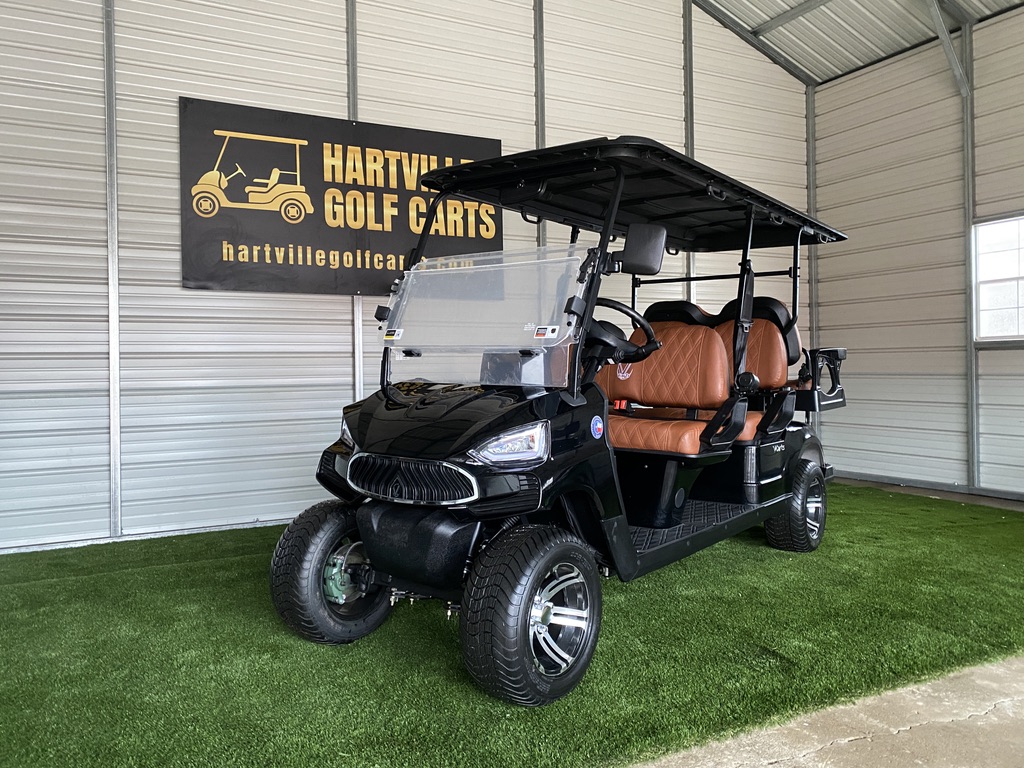
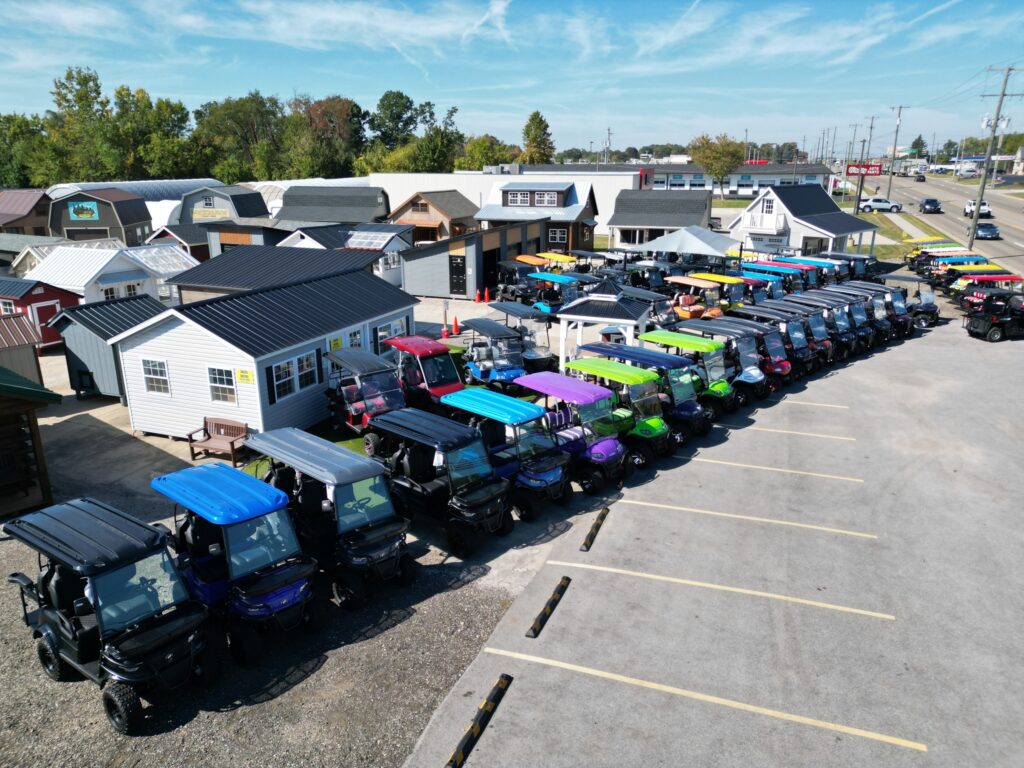
A golf cart body is usually constructed from durable plastic or fiberglass, which means the preparation and painting process is slightly different from painting metal surfaces. These materials require the right primers and sandpaper to help the paint bond properly. When a cart is used frequently around neighborhoods, vacation properties, or private communities, its exterior can collect scratches or dull spots that make painting a worthwhile upgrade. With the right approach, even a beginner can achieve a clean, smooth finish that lasts for years. To explore modern carts with body styles that respond well to custom paint, you can browse options through the Hartville Golf Carts homepage.

Choosing the Right Paint for a Golf Cart Body
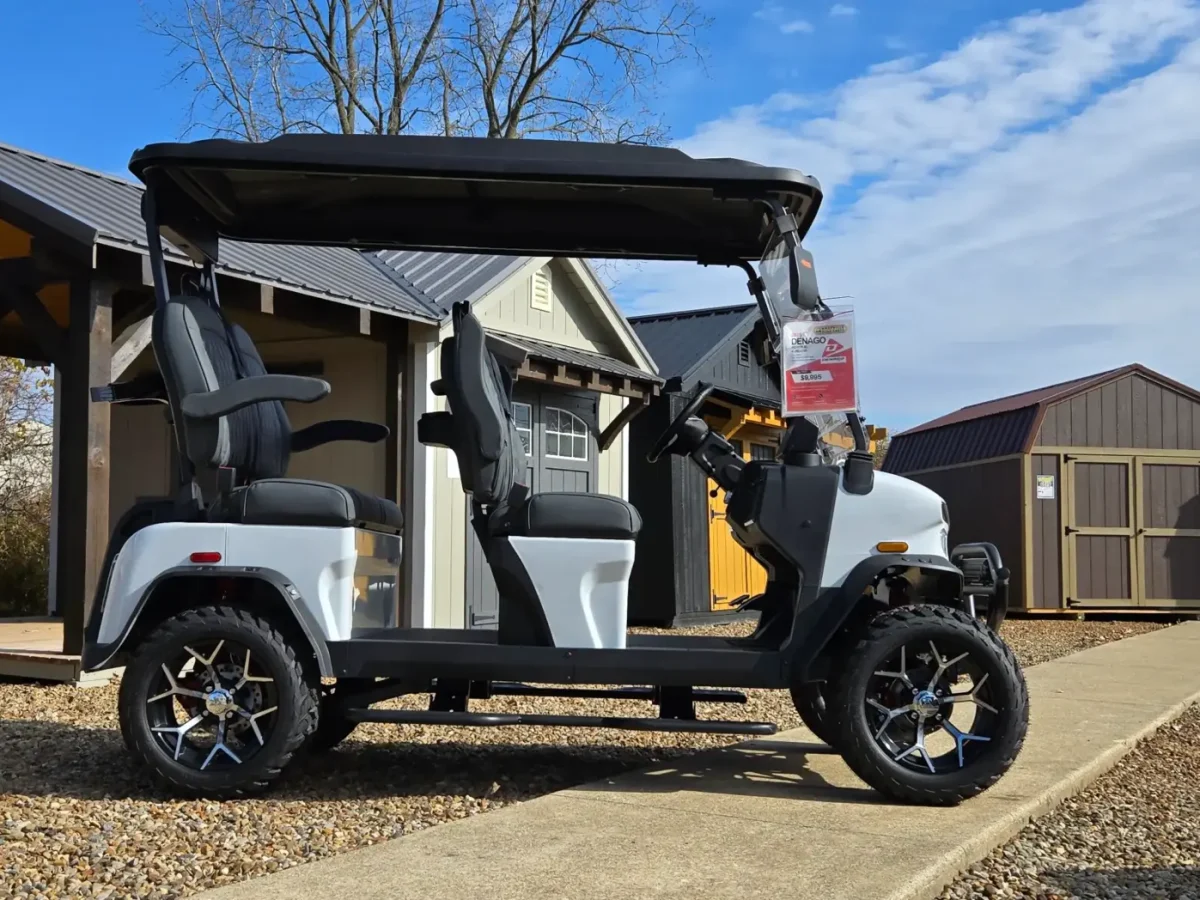
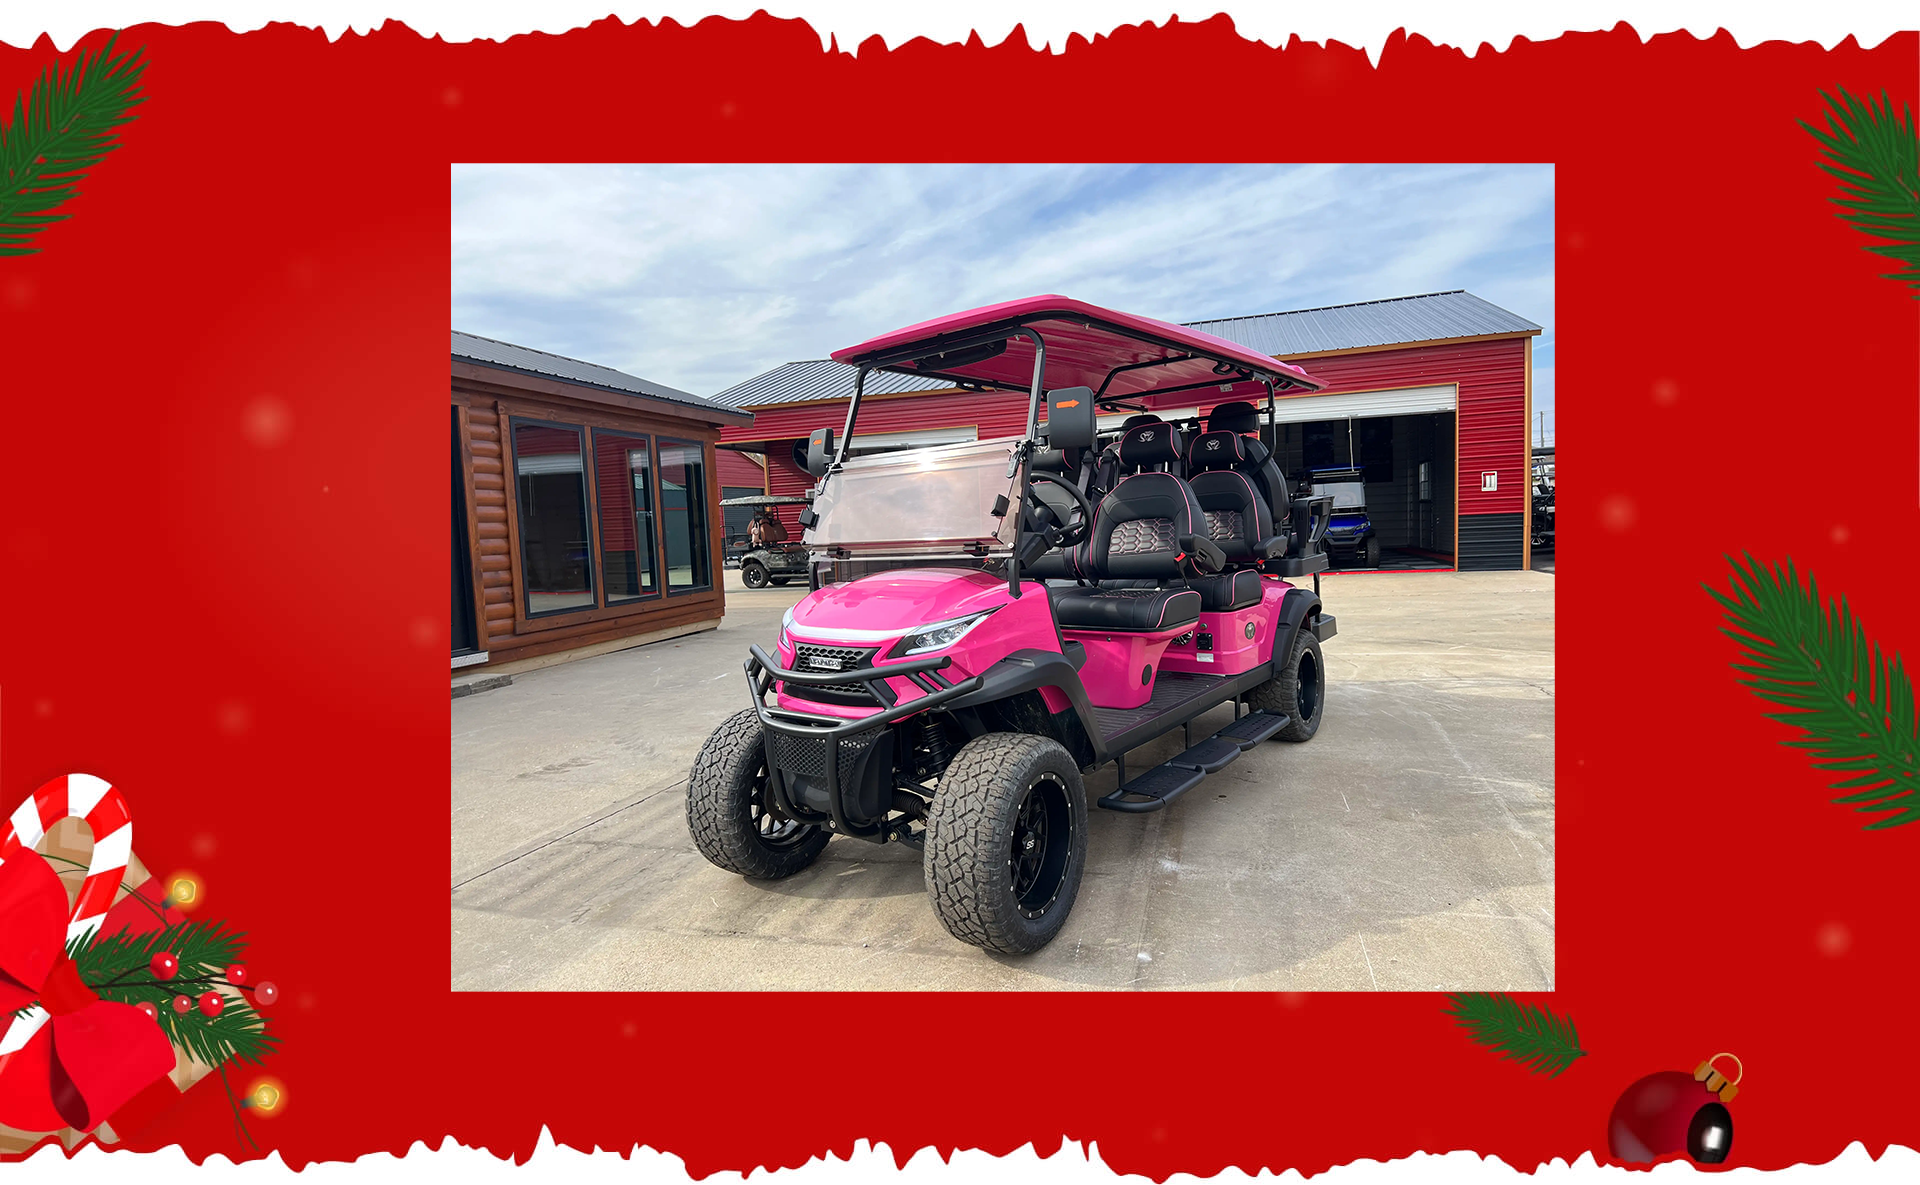
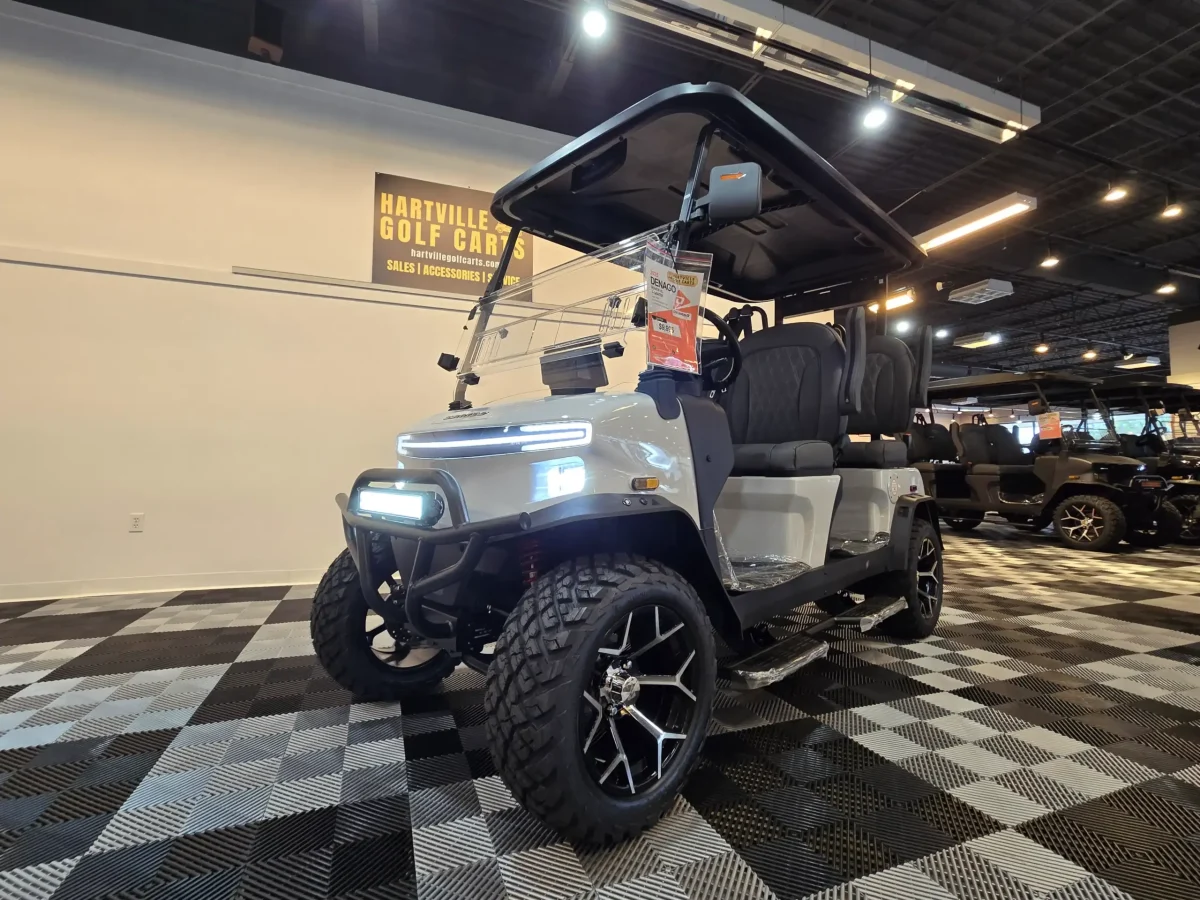
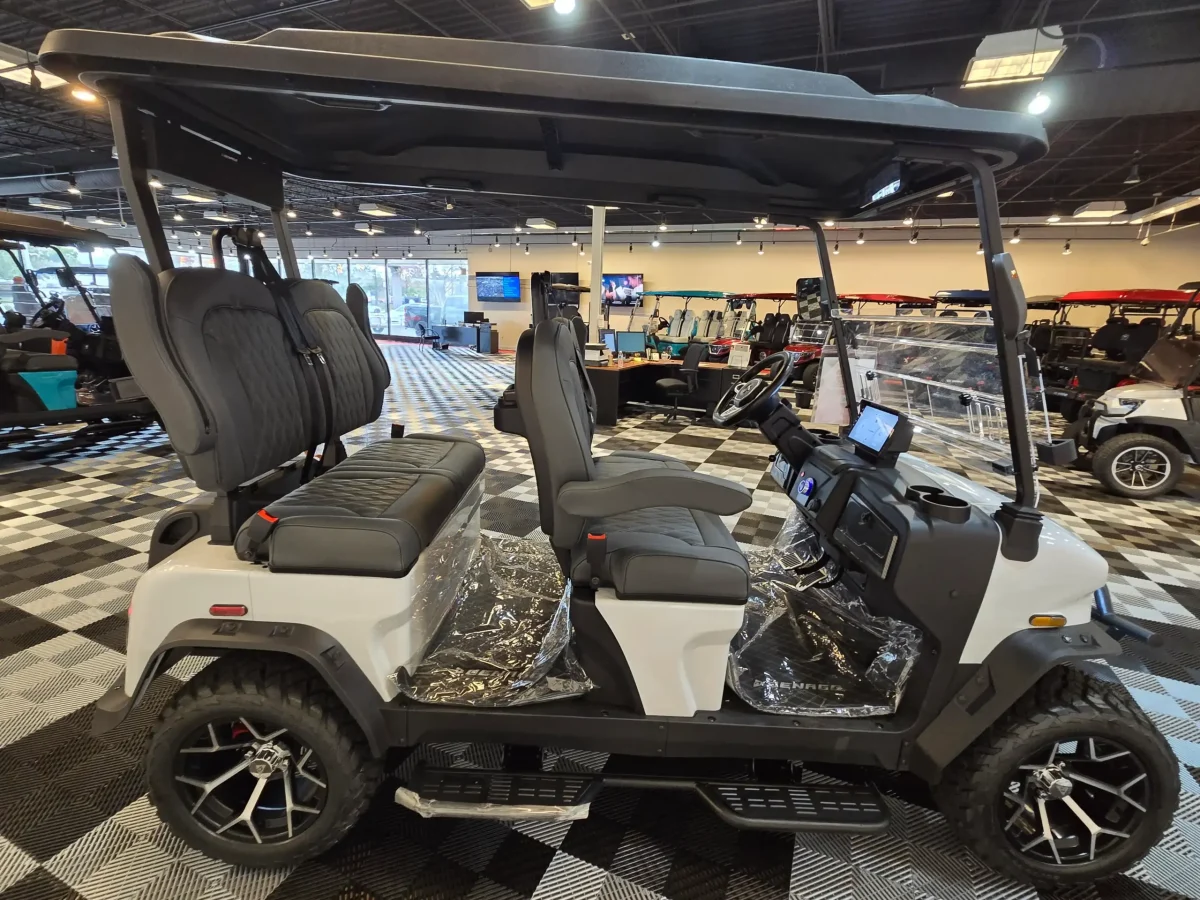
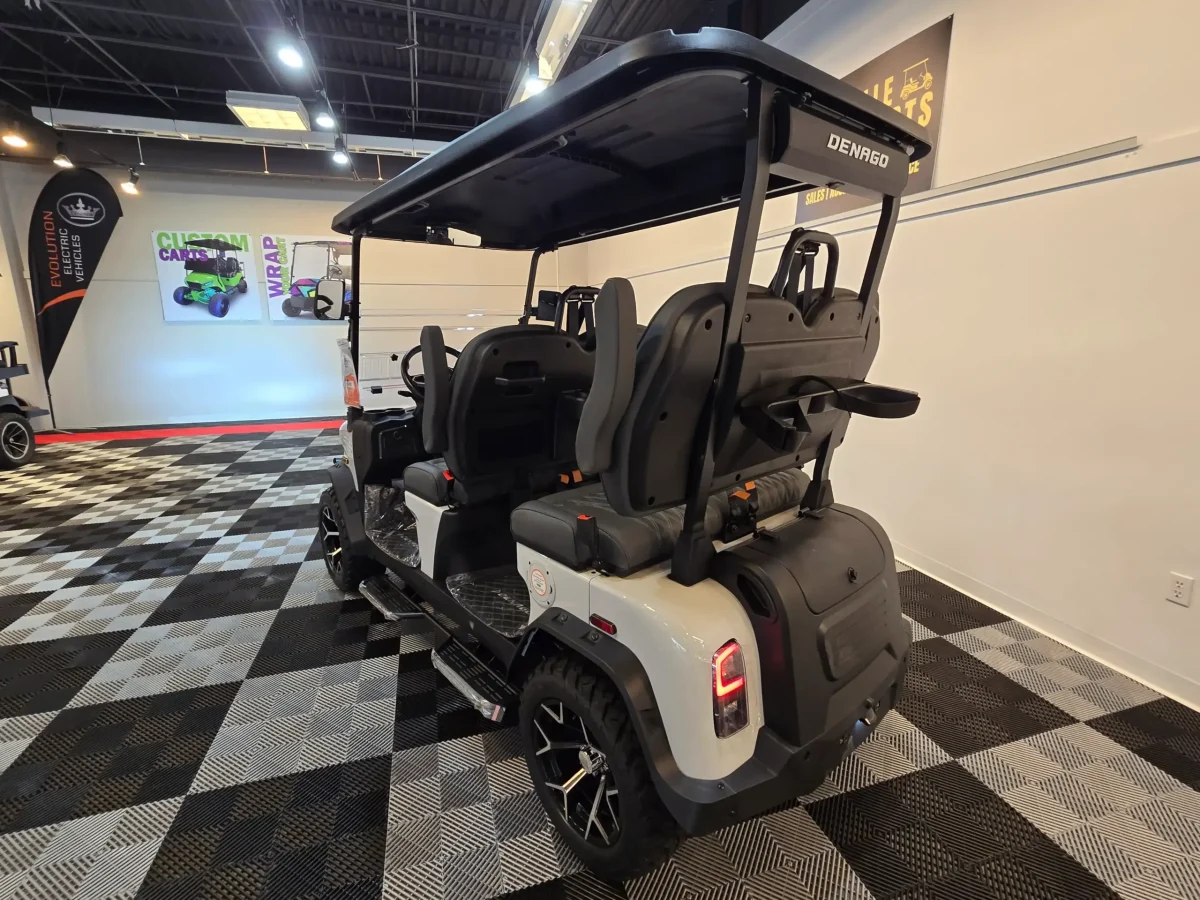
Selecting the correct type of paint is one of the most important steps in the project. Many owners use spray paint designed for plastics, but automotive paint offers the most durable and professional finish. Automotive urethane or acrylic paints are known for their color depth and resistance to weather. Plastic formulated spray paints provide a more affordable option, although they may not last as long on heavily used carts. The paint must be compatible with the body material, whether it is fiberglass or polyethylene. For a cart with a stylish body design like the Denago Rover XL, choosing the right paint enhances the original contours and gives the cart a polished look. You can view this model through the Denago Rover XL page.
Understanding the Importance of Proper Preparation
The preparation process often determines the quality of the paint job. Cleaning the cart helps remove dirt, grease, and old residue that prevent paint from adhering. Sanding the surface gives the primer a solid base to grip. Most experts recommend using a combination of medium and fine grit sandpaper to create a smooth finish. Any scratches or gouges should be repaired with filler designed for plastic or fiberglass. Even though preparation takes time, skipping it can lead to peeling or uneven paint, which reduces the overall appearance. Proper preparation ensures a flawless application that holds up against daily use.
Materials and Tools You Will Need
Painting a golf cart body requires specific materials to help you achieve a clean and long lasting finish. These may include primer formulated for plastic, automotive grade paint, clear coat, sandpaper in multiple grits, cleaning solutions, tape, and a masking film to protect areas that should not be painted. Many owners choose to remove the cart’s body panels before painting, which allows easier access to edges and curves. If you decide to keep the panels attached, you will need to mask windows, trim, and accessories carefully.
Painting Techniques for Beginners
Beginners often use spray cans because they are simple, clean, and easy to control. The key to achieving a smooth surface is to apply multiple thin coats rather than one thick layer. Thick coats can drip or leave uneven lines, while light coats dry evenly. Hold the spray can about ten to twelve inches from the surface and overlap each pass slightly. Work slowly and steadily, allowing each coat to dry before adding the next. Light sanding between coats helps maintain a smooth texture. With patience and the right technique, even a first time painter can achieve a satisfying finish that looks great from any angle.
Techniques for a More Advanced Finish
Those with intermediate skills or more ambitious goals often choose an automotive spray gun for a deeper, more professional finish. This method gives greater control over paint flow and coverage. It also allows you to use automotive urethane or acrylic paints, which offer longer durability and a richer shine. Before spraying, practice on a spare panel or cardboard piece to adjust pressure and technique. While spray guns require more setup and cleanup time, they produce a finish that closely resembles factory quality. This option is ideal for owners who want their cart to stand out in neighborhoods or resort areas.
Using Primer Correctly
Primer is an essential step, especially when painting plastic or fiberglass. It creates a bonding layer that helps the paint adhere properly and last longer. Primers designed for plastic surfaces work best for golf carts because they expand and contract with the material. Apply the primer in thin, even layers, allowing each to dry completely before sanding lightly with fine grit sandpaper. A consistent primer base sets the foundation for smooth paint application and reduces the chance of flaking or peeling over time.
Choosing the Right Finish or Clear Coat
A clear coat adds depth and protection to the paint. This outer layer guards against UV rays, minor scratches, and weather exposure. You can choose between glossy, satin, or matte finishes depending on your style preference. Glossy finishes create a high shine similar to a new car, while satin and matte finishes offer a more subtle look. The clear coat must be applied evenly, and several layers are often needed for full protection. Allow each layer to dry properly to avoid creating a cloudy or uneven appearance.
Understanding Drying Time and Curing
Patience is important during drying and curing. While paint may feel dry to the touch within hours, it can take several days to fully cure. This means the paint should not be exposed to rough handling or harsh weather during the curing phase. Give the cart adequate time to settle before putting accessories back on or driving it regularly. A slow and thorough curing cycle helps the paint achieve its intended durability and shine, preventing issues like peeling or cloudy spots later on.
Common Mistakes to Avoid
One of the most frequent mistakes is skipping sanding or surface preparation. Without proper prep work, paint may bubble, peel, or appear uneven. Another mistake is using thick coats, which can drip and create an unprofessional finish. Failing to mask surrounding areas properly can also cause overspray, which is difficult to remove. Some owners rush the drying process by reassembling too soon, which can leave fingerprints or smudges. Avoiding these mistakes ensures your paint job looks smooth, clean, and long lasting.
How Long the Painting Process Takes
The time required to paint a golf cart body depends on the method and level of detail. Spray can projects may take a full day of sanding, priming, painting, and drying. More advanced automotive paint jobs can take several days or even a week to complete, especially when applying multiple layers and allowing proper curing time. Planning ahead helps avoid frustration. Taking your time through each step leads to better results that remain vibrant and durable throughout the cart’s lifespan.
Estimated Cost of Painting a Golf Cart
The cost varies depending on paint type, materials, and whether you hire a professional or complete the project yourself. A basic spray can job may cost less than a hundred dollars, while a high end automotive finish can exceed several hundred dollars in materials. Hiring an auto body shop to paint the cart will cost more, but it ensures a professional finish with long lasting results. Understanding these cost ranges helps you choose the method that best fits your budget and expectations.
Painting Versus Vinyl Wrapping
Some owners consider vinyl wrapping as an alternative to paint. Wrapping provides a wide selection of colors, textures, and even patterns such as camouflage or carbon fiber. It also protects the original body from minor scratches. While wrapping is more expensive than simple spray painting, it is usually more affordable than a full automotive paint job. It can also be removed or replaced without long term commitment. This option appeals to owners who like seasonal color changes or unique designs.
How Weather Affects the Painting Process
Weather plays a role in the quality of a paint job. Painting in humid or extremely hot conditions can cause paint to dry unevenly. Cold weather slows the drying process and may trap moisture beneath the surface. Ideally, painting should be done in a controlled environment with consistent temperature and airflow. When painting outdoors, choose a calm day and avoid direct sunlight whenever possible. Working under a shaded area prevents paint from drying too fast and helps maintain an even finish.
Basic Safety Considerations While Painting
Safety is important during any painting project. Wear protective gloves, eye protection, and a mask to avoid inhaling fumes. Work in a well ventilated area to keep air clean and reduce the risk of headaches or irritation. Keep paint cans away from open flames and store them safely when not in use. While these steps may seem simple, they help create a safe and comfortable work environment, especially during larger projects involving multiple layers of paint and clear coat.
Why Some Owners Choose Professional Painting Services
Although painting a golf cart yourself can be enjoyable and cost effective, some owners prefer the convenience and precision of professional services. Auto body shops have tools, paint booths, and experience applying automotive finishes. Their level of detail ensures a smooth and consistent look that may be difficult to achieve at home. While professional work costs more, it delivers a stunning result that stands strong through years of outdoor use and regular driving.
When Painting is Worth the Investment
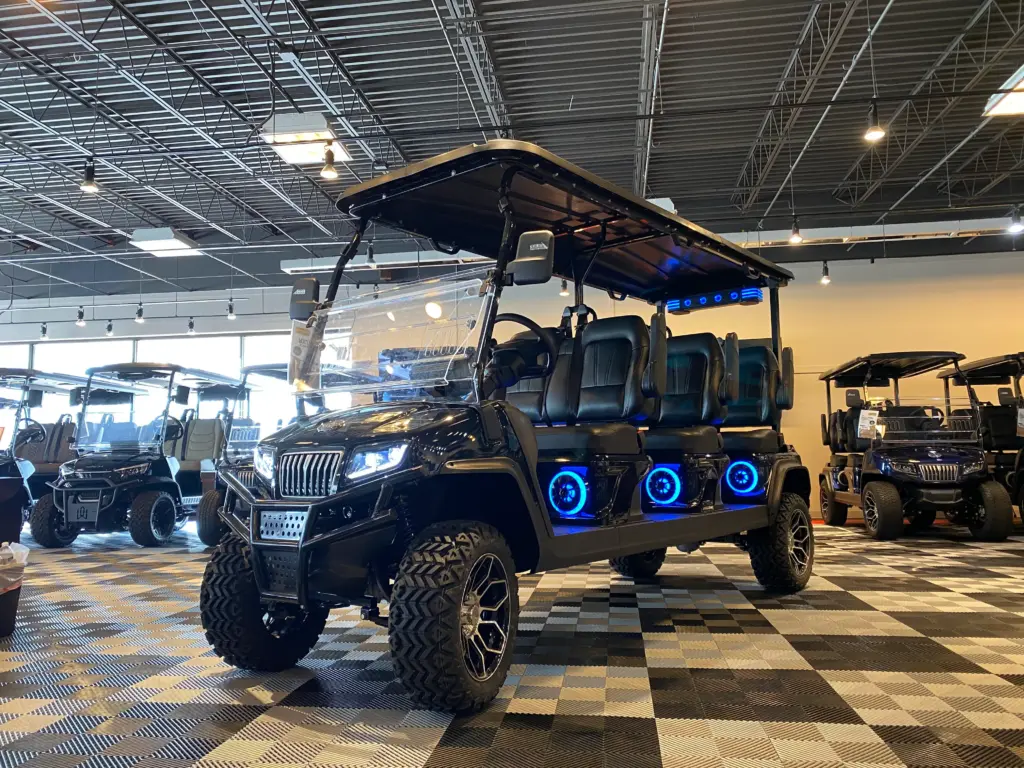
Painting a golf cart body is a worthwhile investment when the cart’s value, usage, and appearance matter to the owner. If the cart has faded or shows signs of wear, a new paint job restores its visual appeal. If you enjoy customizing your vehicles, paint allows you to express your style with bright colors or refined finishes. For newer models with sleek designs, painting can enhance curves and surfaces to create a more polished appearance. Owners who invest in quality upgrades often find the results well worth the time and effort.
Conclusion
Painting a golf cart body is a valuable way to renew its appearance, personalize its style, and protect the exterior from long term wear. With the right materials and techniques, the results can be striking and durable. When you are ready to upgrade your cart or explore models with unique design features ideal for custom paint, reach out to the team at Hartville Golf Carts. They can help you explore options and choose a cart that suits both your needs and your creative vision.