While it may seem a daunting task, hooking up golf cart batteries can be done in a very straightforward manner. It shouldn’t matter whether you are a seasoned golf cart owner or a novice. Understanding how to connect your batteries is part of the experience. While you can surely pay a professional to do this for you, learning how to do it on your own will save you money and be more fulfilling. In today’s blog we walk through the steps necessary to hook up your golf cart batteries effectively and safely.

Understanding Golf Cart Battery Configurations
You need to understand the basic configurations of golf cart batteries before diving into the connection process. Most golf carts run on 6-volt, 8-volt, or 12-volt batteries. This of course depends on the make and model. The batteries are connected in series to create a total voltage sufficient to operate the golf cart. Many times this number is 48. Knowing your golf carts voltage is going to be a requirement to hooking up the batteries correctly.
Prepping the Batteries for Installation
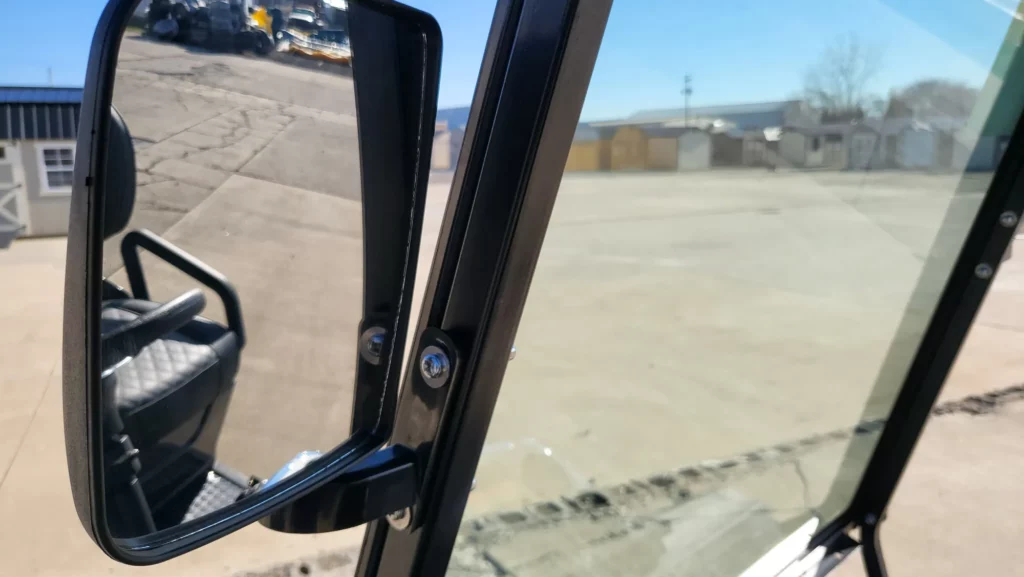
With all of our guides, we like to talk about preparation before all else. Start with safety gear. You should have gloves and safety glasses at a minimum. This will protect you from battery acid and other hazards. Inspect each battery for damage like cracks or leaks. This will serve as your last chance to return the batteries if something isn’t right. Prep the golf cart itself also. Check the terminals and clean with a wire brush to remove any corrosion. This will ensure a solid connection.
Connecting the Batteries
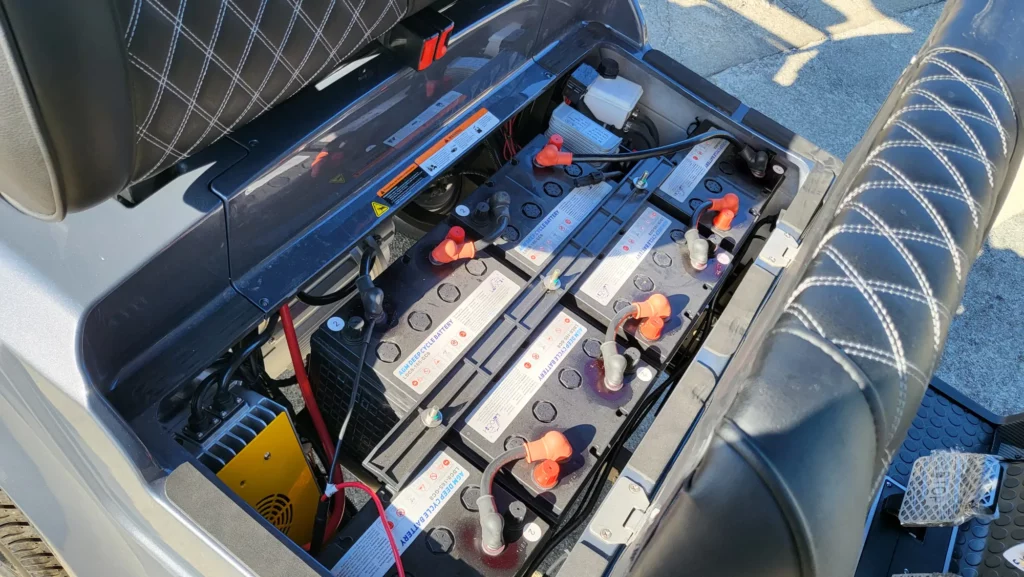
Now that you and your batteries are prepped, let’s get started connecting them. Begin by positioning the batteries in the battery compartment of your golf cart. Check through the manufacturer’s guidelines for this part. Each battery has a positive and negative terminal. The positive is red, and the negative is black. We need to connect the batteries in series to achieve the necessary voltage.
Connect the positive terminal of the first battery to the negative terminal of the second battery using a battery cable. Continue this pattern until you have all the batteries connected. For example, in a 48-volt system with six 8-volt batteries, you will follow this method until all 6 batteries are linked together.
Once you have completed this assembly, you should have a free positive terminal on the first battery and a free negative terminal on the last battery. These terminals will connect to the golf carts’ power cables. Use the positive power cable from the cart and connect to the positive terminal of battery number 1. This leave the negative power cable from the cart available to connect the negative terminal in the last battery.
Installing an On/Off Switch and Fuse Box
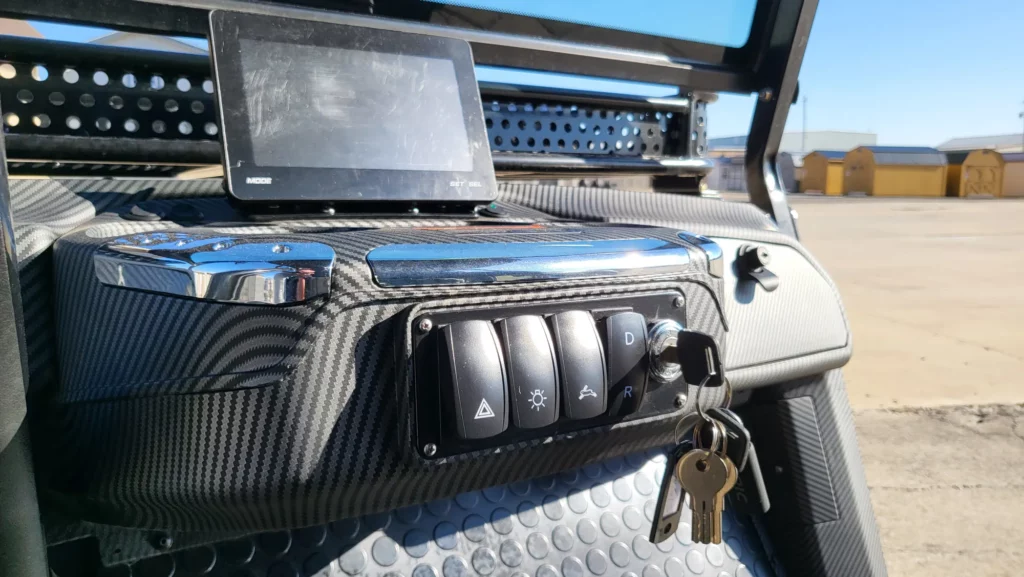
Installing an ON/OFF switch can add safety and convenience to this setup. You can install the switch and a fuse box in the golf cart’s electrical system. This will allow you to disconnect the power when the golf cart is not in use. This reduces the risk of battery drain or electrical issues. This fuse box protects your system from overload by breaking the circuit if the current exceeds a safe level. Follow the manufacturer’s guide when installing to ensure all the connections and insulated and secured properly.
Testing the Installation
Now that you are all hooked up, let’s make sure this system is ready to rock! Turn on the golf cart and look for any warning lights. You also want to pay attention for unusual noises or lack of power. If the golf cart operates smoothly, congratulations, you have successfully hooked up your golf cart batteries! If you run into any issues, walk back through the process above and confirm all is completed properly. If you still have no luck, look on the internet for your manufacturers troubleshooting guide.

Conclusion
Learning how to hook up golf cart batteries is a valuable skill! This will make sure your golf cart runs efficiently and reliably. If you follow these steps and take your time to understand your battery setup, you can be confident in your abilities to replace your batteries in the future. Proper installation and maintenance will extend the life of the batteries that you worked so hard to connect. This is an investment in skill as well as your golf cart. Now that you are ready to hit the roads, check out our guide on battery maintenance HERE.


