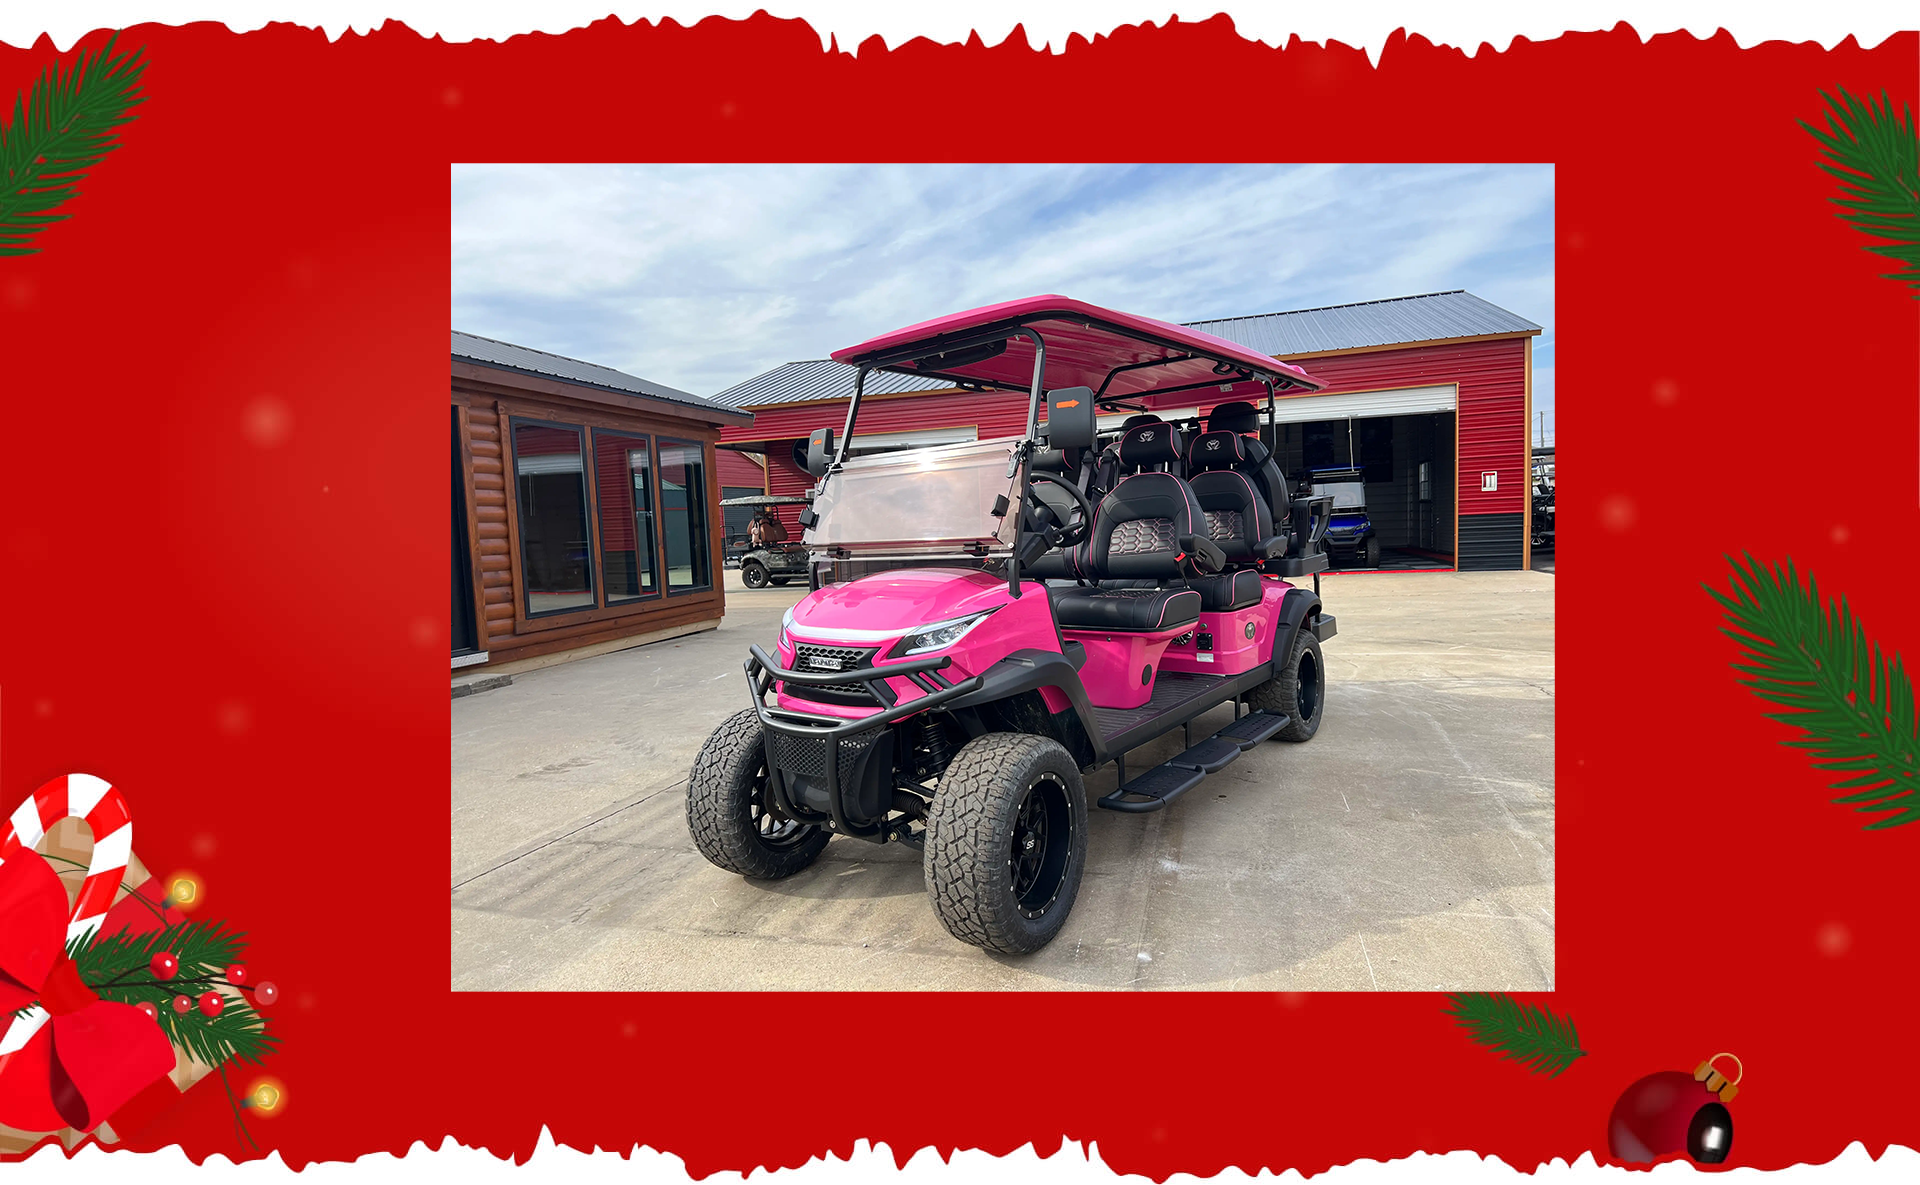
Decorate your golf cart for holidays like Halloween Christmas or the 4th of July. A golf cart makes a perfect canvas for decorations at events. The right materials along with smart ideas can turn a cart into a centerpiece at parades or celebrations. You can make your cart noticeable during tournaments or social gatherings through simple changes. The following steps show how to add decorations to your golf cart in a safe way. Let’s go over how to attach decorations to a golf cart.
Planning and Preparation
The right planning before golf cart decoration makes a good impact. First think about your ideal design. Do you want holiday cheer Halloween scares or party festivities? A clear theme will help select proper decor along with a neat appearance.
A look at your cart’s exact size or shape tells you the amount of items to buy as well as the best spots to add them. Use a tape measure if needed or create a list of your planned decor. The list keeps the project on track with all materials ready for decoration time.
Choosing the Right Decorations
The task of decorating a golf cart for holidays needs proper planning. Think about your theme next to the cart’s dimensions to begin. A spooky Halloween setup works well with cardboard or posterboard shapes that form dark shapes or haunted buildings. For Christmas spirit the addition of seasonal lights along with garlands as well as ornaments creates a festive look.
A smart choice focuses on weather-resistant items that last through outdoor use. Decorations made for exterior placement serve best because they resist different weather types. Let your ideas flow – the cart becomes whatever your mind pictures, from a pirate vessel to a snow-covered fantasy. Many options exist for a great holiday display!
Select the location for the decorations on your golf cart
Decking out your golf cart can turn an ordinary ride into an exciting adventure! As you decide where to place all of your decorations, consider what themes you want to go with. Do you want to make your cart look like a tropical paradise? Or maybe a spooky ghost-mobile? Once you have a theme in mind, let your creativity run wild! A popular location for decorations is the roof of the cart. It’s a great way to draw attention to your ride and make sure everyone can see your awesome decorations. Another spot to consider is the front of the cart, especially if you have a unique grill or bumper that you can incorporate into your design. The possibilities are endless, so have fun and get creative!
Determine the weight and size of the decorations before purchasing them
When it comes to decorating your home, it’s important to consider the weight and size of the decorations you’re interested in before making any purchases. Not only do you want to ensure that they fit properly in the space you have in mind, but you also want to make sure they can be safely installed without causing any damage to your walls or furniture. Taking the time to carefully measure and evaluate each item can help you avoid any potential headaches down the line and ensure that your home looks just as beautiful as you envisioned it.
Selecting the Right Adhesive
A good golf cart decoration project needs proper adhesive for secure placement. Your choice of adhesive depends on the decoration materials and cart surface. Simple items like fabric or paper need basic fasteners such as tape or Velcro strips. These fasteners allow easy application or removal without paint damage.
Decorations with more weight – like string lights or ornaments – need firm attachment methods. Suction cups work on flat surfaces such as windshields, while bungee cords hold big items in place. Wire twist ties along with zip ties provide excellent support when attached to the cart’s frame or handlebars. The adhesive product instructions should guide your use. Test each adhesive on a small spot first to check for potential damage.
The right selection of decorations as well as fasteners leads to a cart that adds joy to any holiday setting.
Follow the instructions on the adhesive product packaging
When it comes to using adhesive products, it’s important to follow the instructions provided on the packaging. These instructions can vary based on the type of adhesive you’re using and the surface you’re applying it to. By following the instructions carefully, you can ensure that you’re using the adhesive correctly and that it will bond to the surface properly. Some products may require you to apply the adhesive to one surface and then press the two surfaces together, while others may require you to let the adhesive dry before pressing the surfaces together. Whatever the instructions may be, taking the time to read and follow them closely can make all the difference in achieving a successful bond. So don’t skip over those instructions – they’re there to help you get the most out of your adhesive product.
Carefully apply the adhesive to attach your decorations safely and securely
Decorating your home can be a fun and exciting activity, but it’s important to prioritize safety when attaching decorations. Whether you’re hanging holiday lights or putting up wall art, it’s crucial to use the right adhesive and apply it carefully. Not only will this ensure that your decorations stay put, but it will also prevent any accidents or damage to your walls or surfaces. Take your time when applying the adhesive, making sure it is evenly spread and positioned correctly. With the right tools and techniques, you can create a beautifully decorated room without any mishaps. So take the necessary precautions and enjoy your newly decorated space!
Types of Christmas Lights for Your Golf Cart
Different ways exist to decorate a golf cart – your creativity sets the limits! A golf cart works as transport or a canvas to show your style through decorations. Popular choices include:
- Banners or flags: Attach these to the frame or rear-view mirrors. Banners make the cart easy to spot along with adding color.
- Streamers as well as ribbons: These add festive style to the cart. Put them on bumpers or handlebars besides the wheels.
- Lights: LED lights give your cart a nice glow. The lights need secure fastening away from the driving area. A practical option uses Christmas light clips – similar to those for house gutters.
- Window clings: These stick to windows or remove clean without residue. The designs come in seasonal themes or custom patterns.
- Seat covers or floor mats: The interior gets personal style with themed seat covers next to fun floor mats.
How to Attach Decorations to Your Golf Cart
Once you select your decorations, attach them with care. These are methods to do this:
- Zip ties or twist ties: Zip ties help attach decorations to a golf cart well. These do not harm surfaces when removed or detached. Twist ties suit light items like streamers along with flags.
- Velcro strips: A simple way to put up decorations is to use Velcro strips. The strips work for banners, seat covers or small add-ons. These make sense if you plan to switch decorations often.
- Suction cups: The cups suit light decorations on the windshield or body parts. These fit window clings or small items that need quick removal.
- Adhesive hooks or clips: Light banners need adhesive hooks as a basic fix. Pick products made for outdoor settings to resist weather or peeling. Wire twist-ties as well as clips help hang lights from the roof to make the cart look better.
- Heavy-duty tape: A good choice for items that need to stick to clean surfaces is heavy-duty tape. Pick tape that protects the paint during removal.
Safety Considerations When Decorating Your Golf Cart
A golf cart needs to stay safe when you decorate it. Safety is always key when it comes to how to attach decorations to a golf cart. These are key safety tips to follow:
Keep clear sight: Place decorations where they won’t block your view. The front or back areas must stay clear for safe driving to prevent accidents.
Put lights in good spots: When you add lights for style make sure they don’t block the main lights or signals. The lights should stay away from wheels or parts that move to avoid damage.
Attach items well: Fix all decorations like streamers or balloons firmly so they don’t fly off. The loose parts can distract players or lead to problems on the course.
Make decorations stable: Every decoration needs a solid attachment to the cart’s surface. The items should not move during rides because this can harm the cart or take focus away from driving.
Keep functions clear: Place items away from spots that need airflow like the engine area. The battery section needs good air movement. Also make sure decorations don’t stop any basic cart operations.
By taking these safety considerations into account, you can make sure your decorated golf cart is both fun and functional, without compromising safety on the course.
Concluding
When it comes to decorating your golf cart, taking time to think through the process and pick the right decorations and adhesives is key. Make sure you take into consideration the size, weight, and location of the decorations; as well as the best adhesive to safely and securely attach them. It will also be beneficial to properly research each product before purchasing it, so you can ensure that it will last a long time even when exposed to outdoor elements. If followed correctly, with a bit of effort and research, you will have a golf cart that looks great for years going forward. So make a plan today; research your options; then go out there and have some fun adding your own personal flair to your golf cart! We hope this helps you with how to attach decorations to a golf cart.