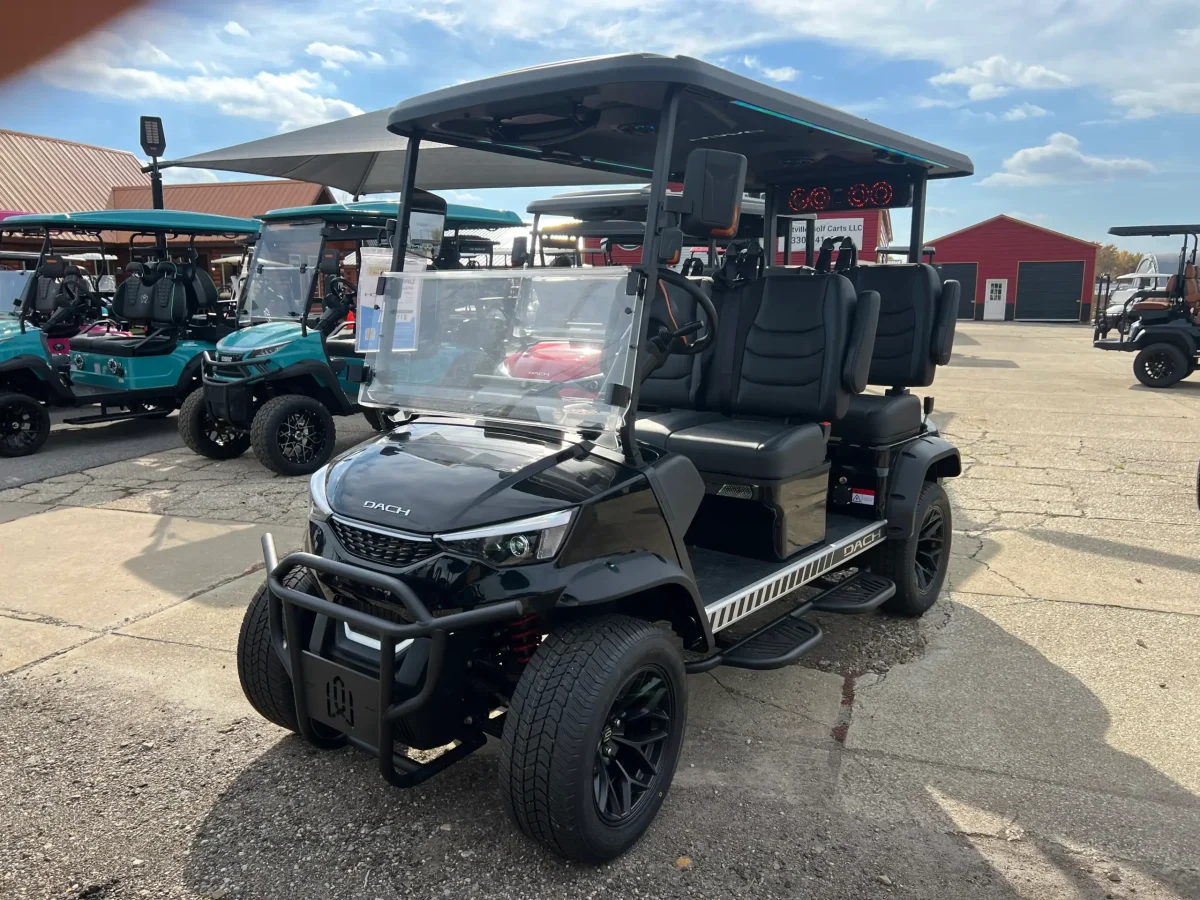
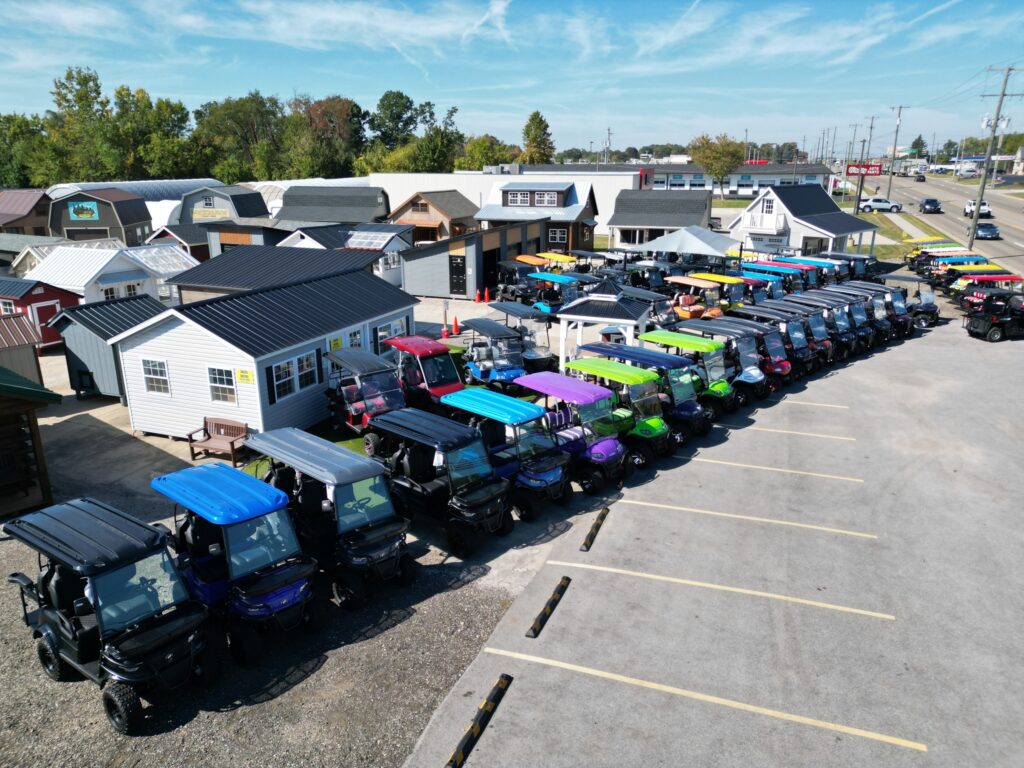
Do you want to hit the course in style this year? Customizing a used golf cart or new golf cart with a wrap can instantly boost the aesthetic and make an old car look new. Custom wraps protect your golf cart from wear and tear, and harsh weather while looking great. If you are looking for a satisfying DIY project and want to put a personal touch on your golf cart, here are some tips that will help.
Not only do they look great but these wraps will also protect your vehicle from any minor wear and tear from outdoor elements such as harsh temperatures or intense sun exposure. So if you’re feeling creative and want to give your ride an up close and personal touch – check out these tips for how to DIY golf cart wraps!
Choosing the Right Materials for DIY Golf Cart Wraps
For a durable wrap, choosing the right materials is important. Vinyl wraps are the go-to choice since they resist scratches, fading, and peeling. Avery Dennison and 3M offer high-quality options that should do the trick. You will find no shortage of color and finish options from matte to glossy and even patterns. For an extra price, you can typically find a company that will personalize your wrap with images or text of your choice. Try your best to stick with a reputable company to ensure you are getting quality materials.
Prepping Your Golf Cart for Wrapping
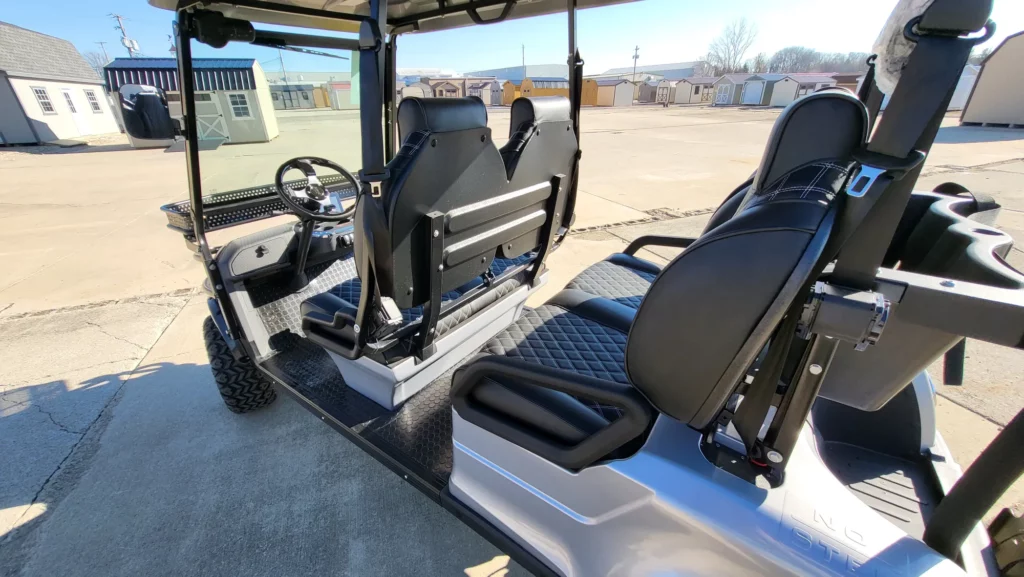
As with all things applied to a surface, preparation is key. Clean your golf cart thoroughly with soap and water to get rid of dirt and debris. Remove any attachments that could get in the way while wrapping. This includes mirrors, handles, wires, fenders, and even seats. This will also help with getting the most accurate measurements of the surface. Consider these points before applying your DIY golf cart wrap.
Cutting and Applying the Wrap
This is a simple step that commonly gives beginners trouble. You need to be very precise when cutting the vinyl. Take into account any contour on the body of the golf cart and include some wiggle room in your cut. Be careful not to allow too much wiggle room so you can avoid overlapping. Once the wrap is applied, be quick to smooth any wrinkles. The use of a heat gun can help. If you want your wrap to look professional take your time and pay attention to every detail. Rome wasn’t built in a day.
Sealing and Finishing the Wrap
Wrapping your golf cart is an effective way to elevate the overall look but it all comes down to the sealing and finishing steps. You need sealants to secure the edge of the wrap. This prevents peeling. This is a good time to add your custom decals and graphics. Give the sealant and adhesives time to cure properly and clean regularly for the best results.

Tips and Tricks to Get a Professional Look
If you’re striving for a more professional look in any aspect of your life, whether it’s for work or a personal project, there are some tips and tricks that can help you get there. One is to invest in quality clothing that fits well and suits your body type. Another is to pay attention to small details such as ironing your clothes, polishing your shoes, and keeping your hair neat. Additionally, choosing a neutral color palette and avoiding loud or overly trendy pieces can communicate a sense of sophistication and elegance. By following these guidelines, you can elevate your appearance and project a more polished, professional image.
Maintenance Tips for Long-Lasting Results
Regular cleaning is also important to increase the lifespan of your wrap. You want to avoid using harsh chemical and abrasive materials. Don’t grab the steel wool to tackle dirt and grime. In most cases, soap and warm water will do the trick. Cleaning often enough to keep the golf cart dirt free will dramatically extend the life of the wraps.
Concluding
Golf cart wraps are an effective and cost-efficient way to customize a golf cart’s appearance. Even though they seem overwhelming and challenging, the process is relatively straightforward if all of the right materials and tools are used. By taking into consideration the size, surface contours, and overall look desired, golf carts can be uniquely customized with vinyl wraps that come in a variety of colors and finishes.
With a few tips and tricks on prepping and finishing the wrapping job, maintaining the wrap by cleaning off dirt or smudges regularly, and adhering to proper installation methods, results will be authentically professional while at the same time lasting longer than expected. If done properly from start to finish; selecting materials with care all the way to applying sealants for extra protection, their signature designs will show off personalized style for many years to come.


